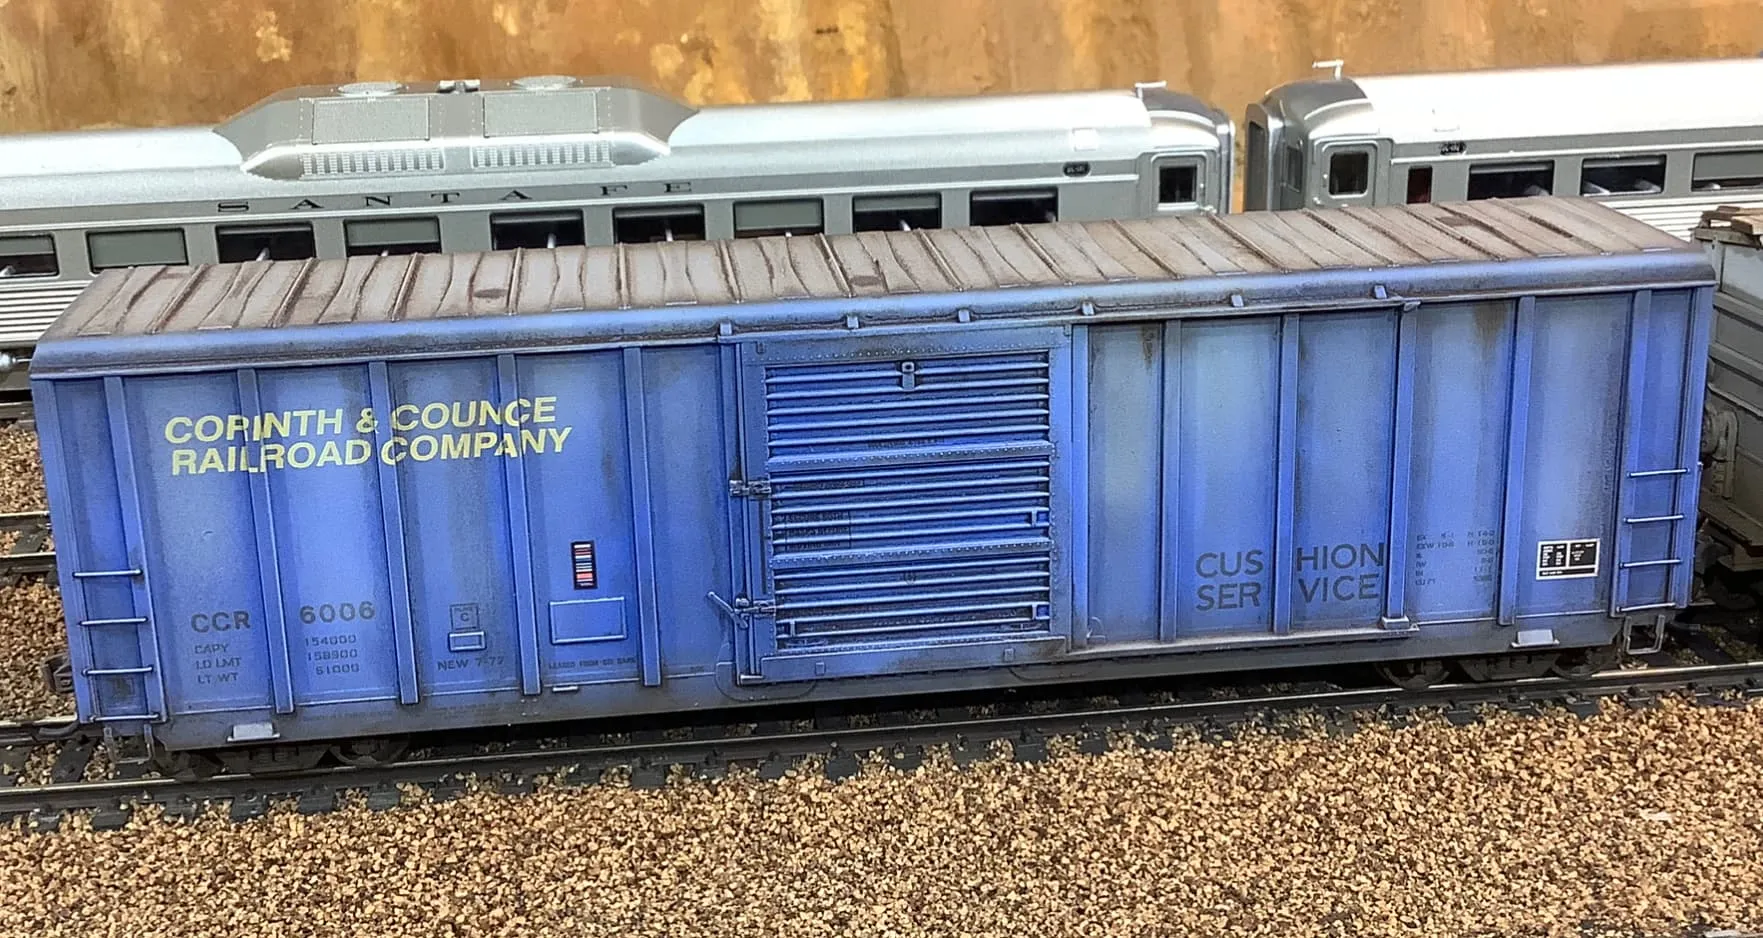
What is Weathering Diecast Cars
Weathering diecast cars is the art of applying techniques to make a model car appear more realistic and worn. It involves simulating the effects of aging, exposure to the elements, and general wear and tear that a real vehicle would experience over time. This can include creating the appearance of rust, dirt, dust, fading paint, and other imperfections. The goal is to move beyond the pristine, factory-fresh look and give the model a sense of history and character. Weathering is a popular technique among model car enthusiasts, allowing them to personalize their models and make them stand out.
The Purpose of Weathering Diecast Cars
Weathering serves several key purposes in the realm of model car collecting and detailing. It’s not just about making the model look dirty; it’s about creating a believable and engaging visual narrative. Weathering techniques enhance the overall realism of a model, transforming a static object into a miniature representation of a vehicle that has lived a life. The right weathering can dramatically improve the perceived value and aesthetic appeal of a diecast car, making it a true piece of art. Additionally, it allows modelers to express creativity and develop their skills.
Realistic Appearance
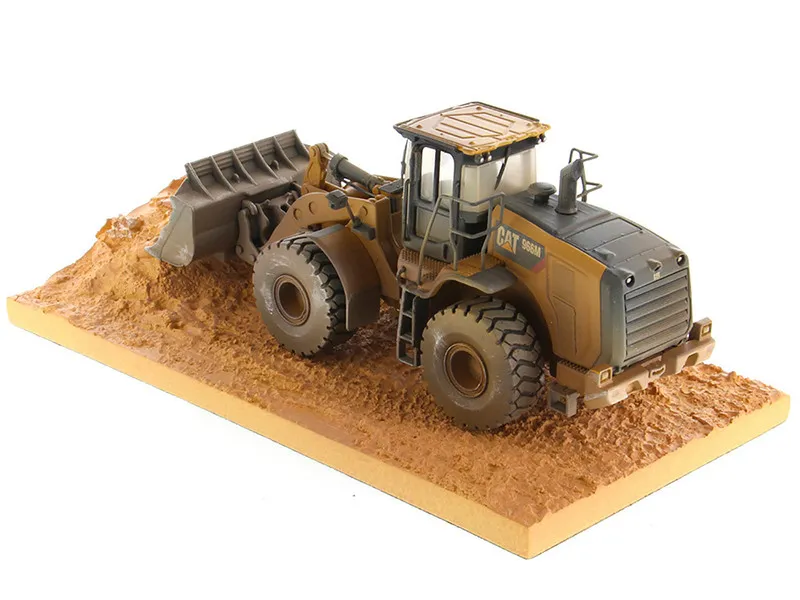
One of the primary goals of weathering is to achieve a more realistic appearance. By simulating the effects of the environment and use, weathering adds depth and visual interest that a clean model lacks. Weathering can mimic the effects of sunlight, rain, and dirt, which all contribute to the aging process of a vehicle. It makes a model appear as though it’s been driven on various terrains, exposed to different weather conditions, and has a history. This realism is a significant draw for many model enthusiasts who aim for accuracy and detail in their collections.
Enhancing Detail
Weathering techniques highlight the details of a diecast model that are often lost in its original, pristine finish. By applying washes, dry brushing, and other methods, modelers can accentuate panel lines, rivets, and other features, adding depth and visual complexity. Weathering draws attention to the intricate design elements of the model, making it more visually engaging and appealing. This enhancement makes the model more captivating and shows the craftsmanship involved in its construction and weathering process.
Materials You’ll Need
To successfully weather diecast cars, you’ll need a variety of materials. The specific tools and supplies you choose will depend on the techniques you plan to use and the level of detail you desire. However, there are some essential items that form the foundation of any weathering project. It’s best to start with a basic set of materials and gradually expand your collection as you become more experienced. The right tools and materials are important to achieve the desired effects and create realistic looking weathering.
Paints and Washes
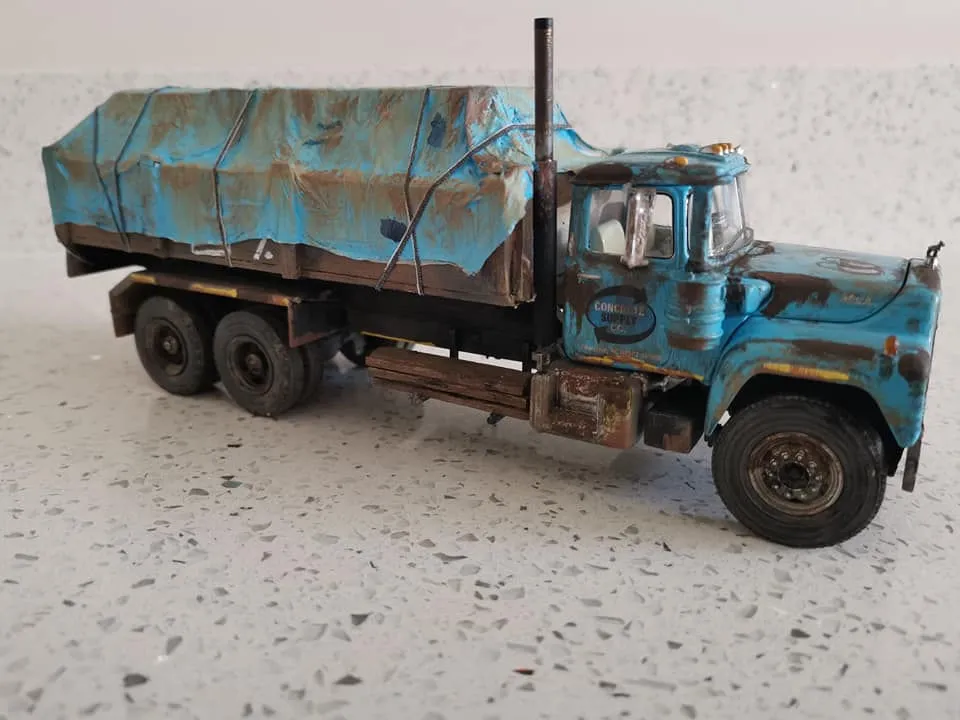
Paints and washes are the core of most weathering techniques. Acrylic paints are a popular choice due to their ease of use, quick drying time, and low odor. Enamel paints can also be used, but they require more ventilation and take longer to dry. Washes are diluted paints that are used to add depth and shadow to a model. They flow into panel lines and crevices, enhancing the detail. Common colors for weathering include rust, brown, black, and various shades of earth tones. The choice of paint and the quality of the paint will largely influence the final appearance of your weathered diecast cars.
Brushes and Applicators
The right brushes and applicators are crucial for applying paints and washes effectively. You’ll need a variety of brush sizes, from fine-tipped detail brushes for small areas to larger brushes for applying base coats. Stiff-bristled brushes are useful for dry brushing, a technique that involves applying paint with a nearly dry brush to highlight raised details. Additionally, you might want to use sponges, cotton swabs, or even makeup sponges to apply weathering effects like dust and dirt. Having the right tools will make the weathering process a lot smoother and produce much better results.
Other Necessary Tools
In addition to paints and brushes, you’ll need some other tools to get the job done. A palette or mixing surface to hold your paints and washes is essential. You’ll also need a hobby knife or a set of files to remove any mold lines or imperfections. For some weathering techniques, such as chipping, you might need a small piece of sponge or a chipping fluid. A magnifying glass can be extremely helpful for seeing the fine details and making precision applications. Ventilation is also important, particularly if you are using enamel paints or solvents. Having all the necessary tools ready will make the process efficient.
Step-by-Step Weathering Guide
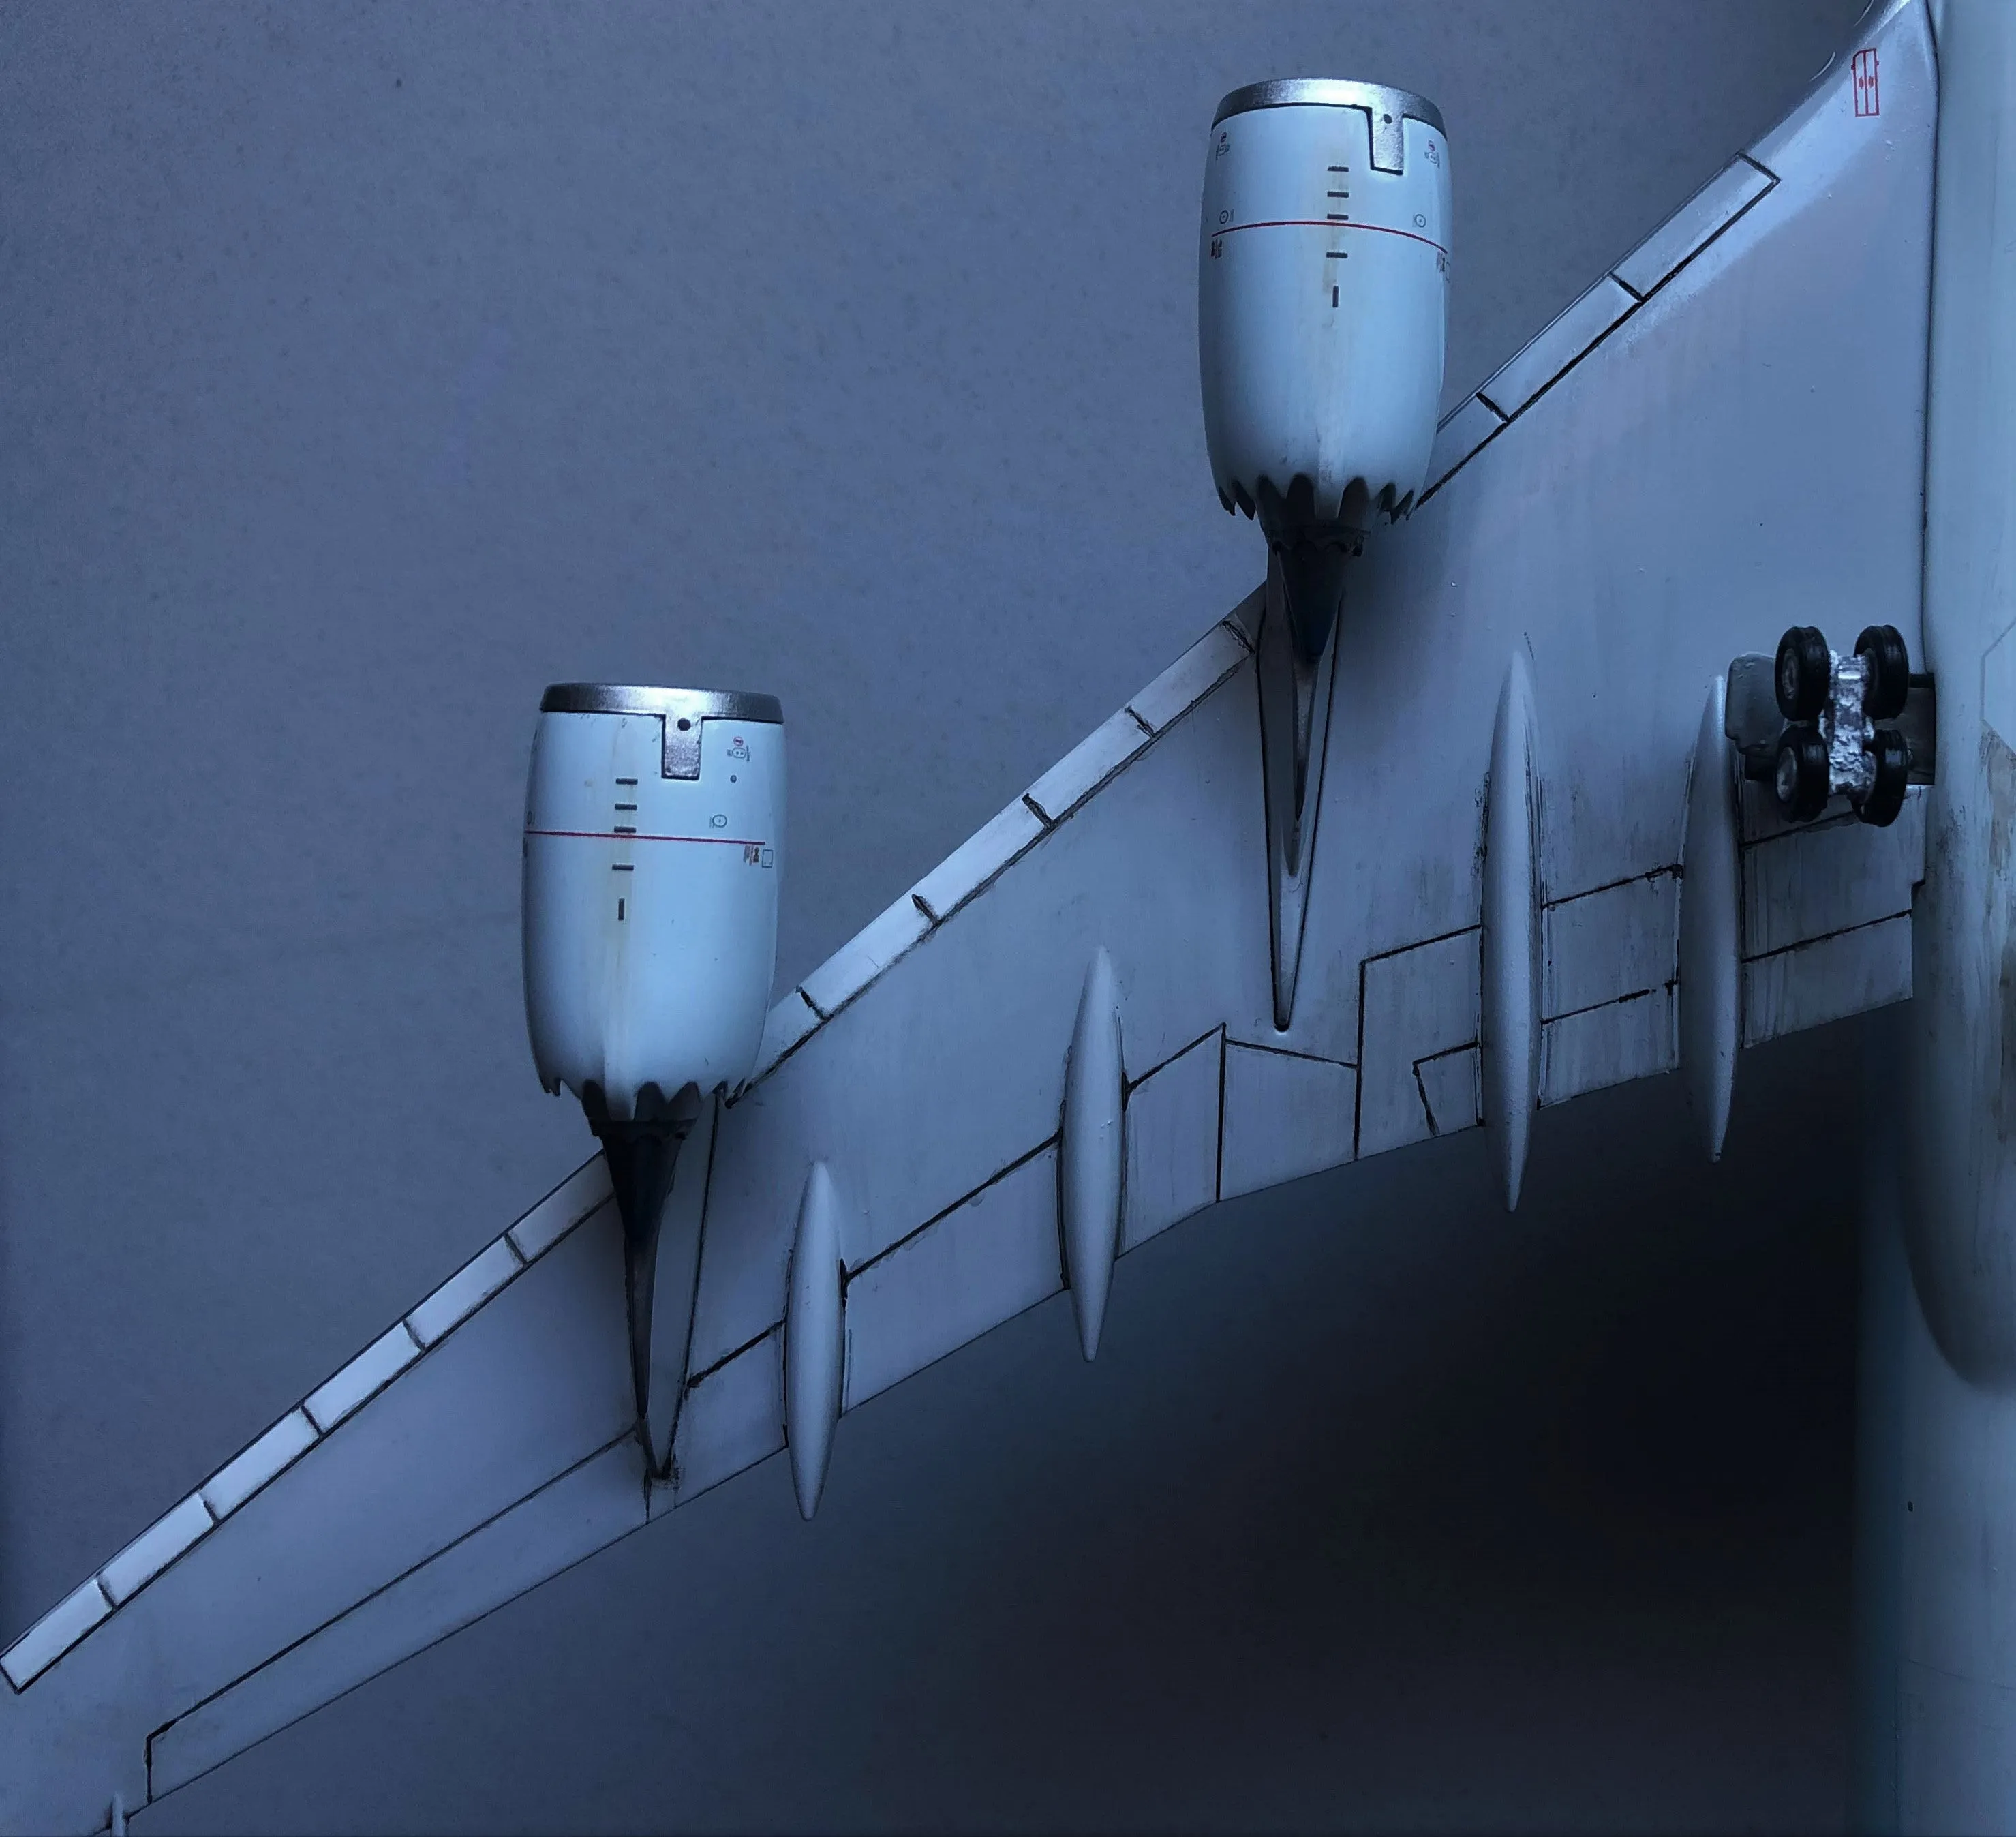
Weathering diecast cars involves several steps, from preparing the model to applying the final touches. Understanding the sequence of these steps will help you achieve the best results. The process can be broken down into several stages, each contributing to the overall realism and visual appeal of your model. It is important to take your time and work methodically through each step, allowing each application to dry before proceeding to the next. This process is a rewarding endeavor that yields beautiful results if you follow the steps correctly.
Preparing Your Diecast Car
Before you begin weathering, you need to prepare your diecast car. This involves cleaning the model to remove any dust or debris that might interfere with the paint application. You might use a soft brush or a microfiber cloth for this. If there are any imperfections, like mold lines or flash, carefully remove them with a hobby knife or file. Some modelers choose to disassemble their models partially to make weathering easier. This step is important for ensuring that the weathering effects adhere properly and look their best.
Applying the Base Coat
Applying a base coat is an important step, especially if you want to create specific weathering effects, like rust. The base coat provides a foundation for the subsequent weathering steps and can influence the final appearance of the model. If you want to simulate rust, you can apply a rust-colored base coat. Otherwise, you can simply leave the model’s original paint job as the base. Using an airbrush is a popular choice for applying base coats, as it provides an even, smooth finish. Make sure to let the base coat dry completely before moving on to the next step.
Adding Weathering Effects
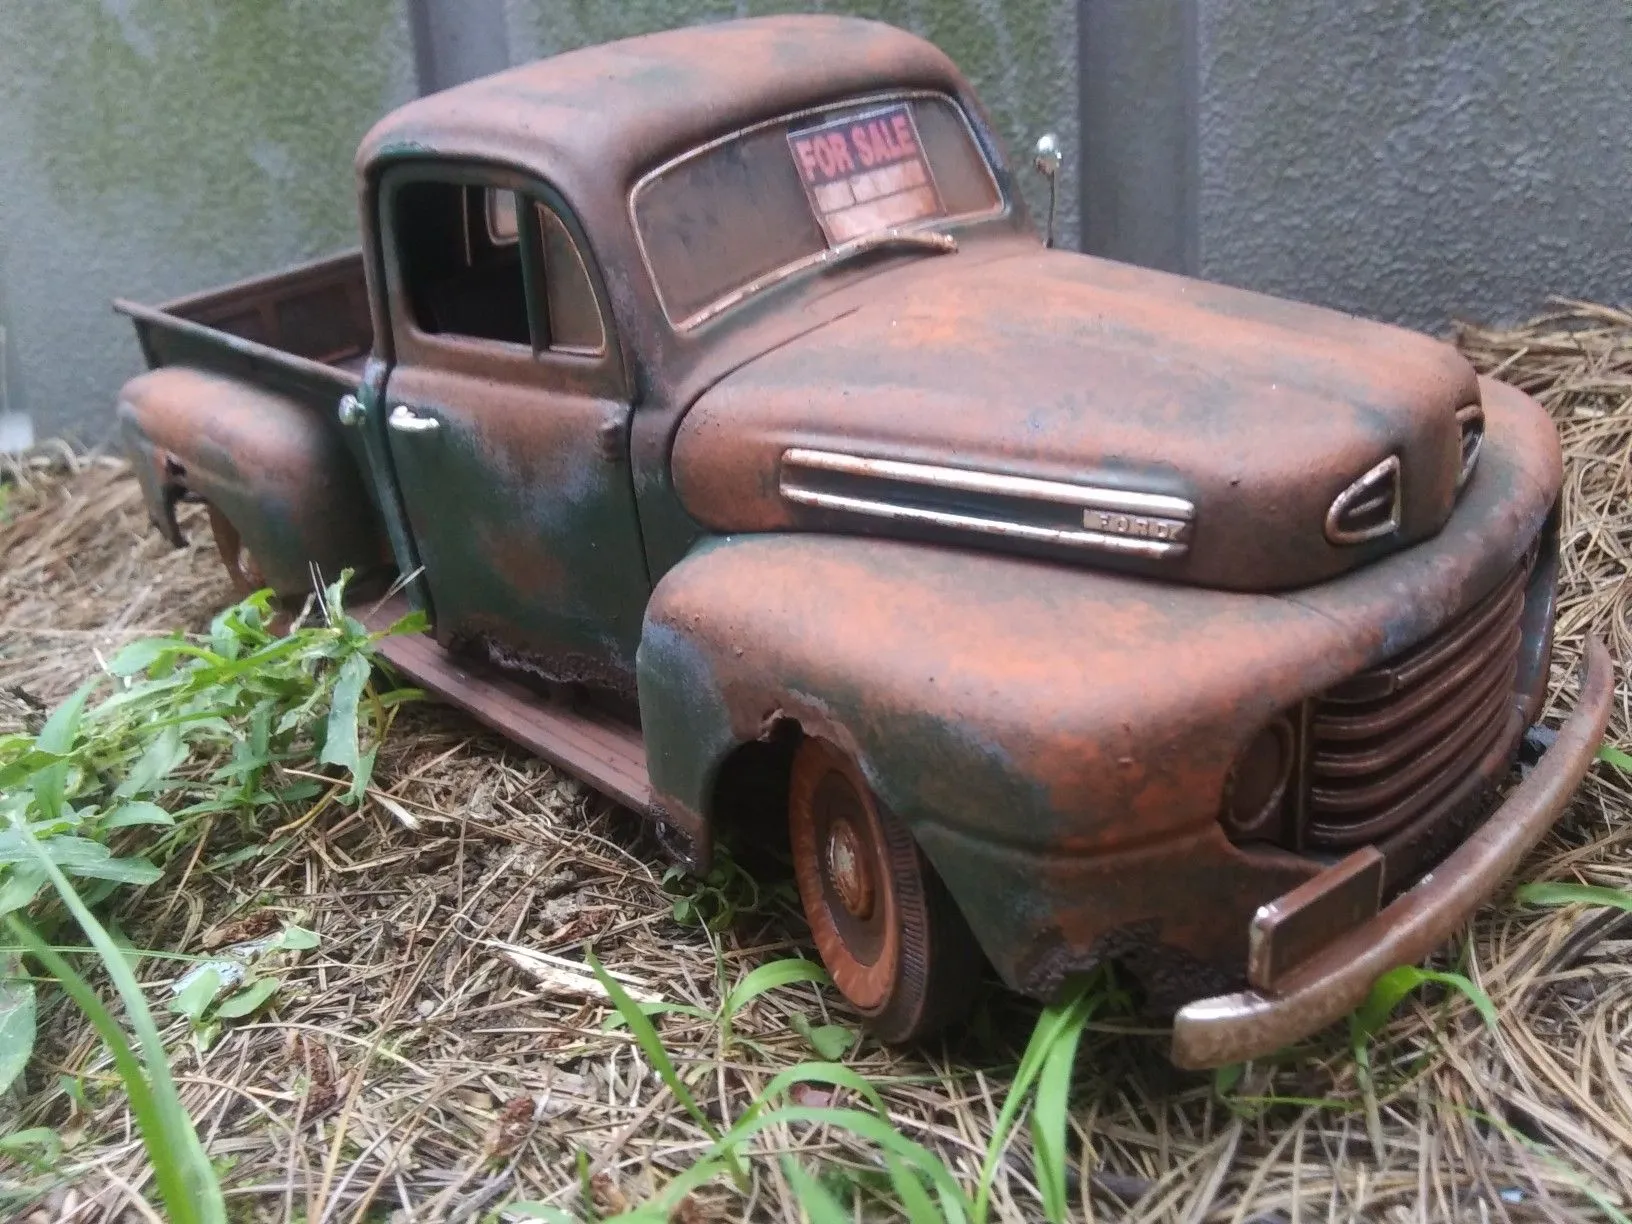
This is where the magic happens. You’ll use a variety of techniques to create the desired weathering effects. This might involve applying washes to panel lines to create shadows, dry brushing to highlight raised details, and applying pigments to simulate dust and dirt. Experiment with different techniques and materials to achieve the look you want. Remember that less is often more; it’s easier to add more weathering than to remove it. Different techniques can be combined to create a complex and realistic weathered appearance.
Rust and Corrosion
Rust and corrosion are common weathering effects, especially on older vehicles. To simulate rust, you can use rust-colored paints or pigments. Apply the paint to areas where rust would naturally occur, such as around the wheel wells, on the chassis, and along panel edges. You can also use a chipping technique to create the illusion of paint chipping away to reveal rust underneath. For this, you’ll need a chipping fluid to simulate the process of paint flaking away. Careful application is crucial to make the effect appear realistic.
Dust and Dirt
Dust and dirt add a layer of realism by simulating the effects of exposure to the environment. You can create dust and dirt effects using pigments or washes. Pigments are particularly effective for creating a dusty look, while washes can be used to simulate dirt buildup in crevices. Apply the pigments or washes to the model’s surface and then use a brush or cotton swab to blend and manipulate them. Building up layers of dust and dirt, and then varying the color, will help you create depth.
Wear and Tear
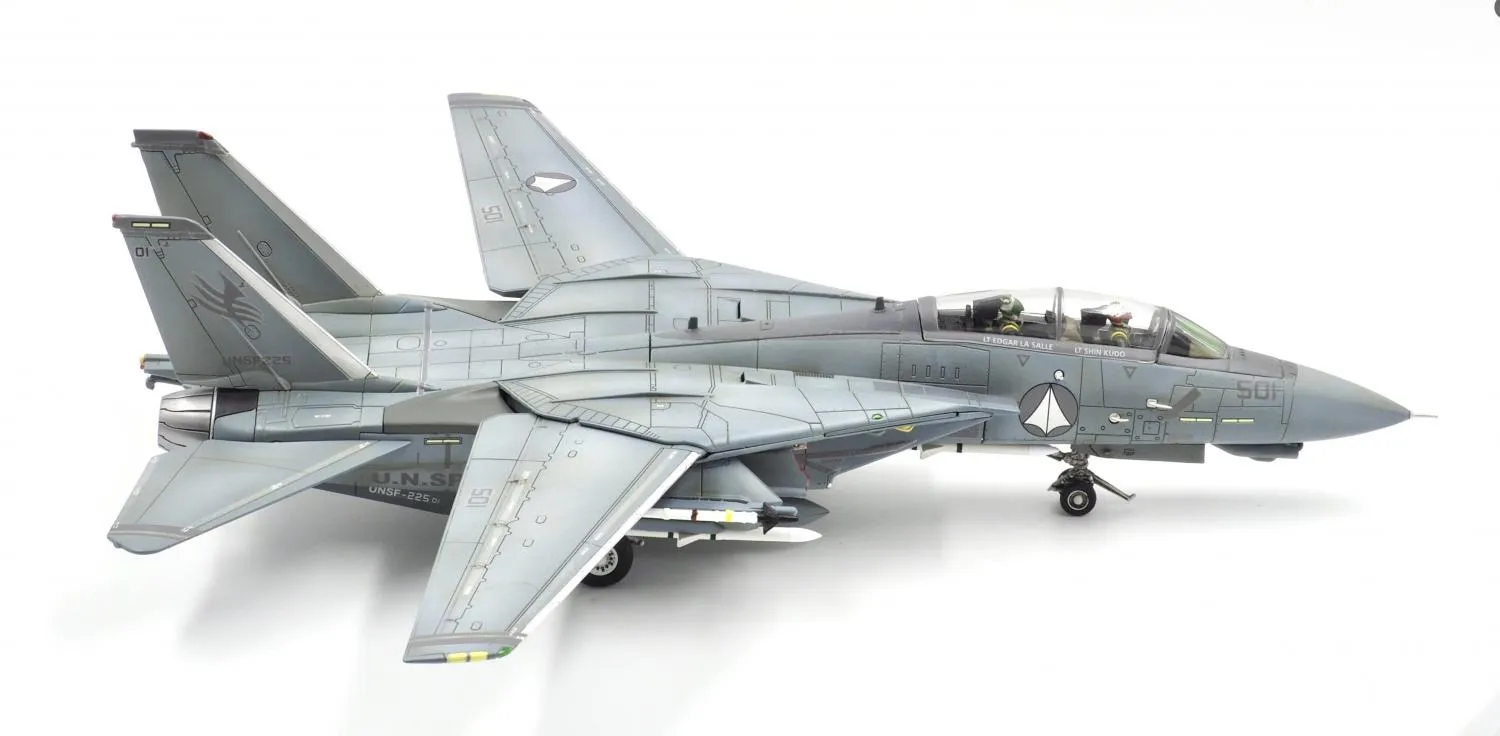
Wear and tear can be simulated through a variety of techniques, including dry brushing and chipping. Dry brushing involves applying paint with a nearly dry brush to highlight raised details and edges, simulating wear from use. Chipping involves using a hobby knife or chipping fluid to create the appearance of paint chipping away, revealing the underlying metal or primer. This technique is especially effective for simulating areas where the car has been scraped or bumped. The amount of wear and tear to apply will depend on the look you want to achieve.
Sealing and Finishing
Once you’re satisfied with the weathering effects, it’s time to seal and finish your model. Applying a matte clear coat will protect the weathering and give the model a more realistic appearance. The clear coat will also tone down the colors and blend the weathering effects. Apply the clear coat in light coats to avoid pooling. After the clear coat has dried, your diecast car is ready for display.
Common Mistakes to Avoid
While weathering diecast cars is a rewarding hobby, there are some common mistakes that can detract from the final result. Recognizing and avoiding these pitfalls will help you achieve better results. These mistakes can affect the realism and overall aesthetic appeal of your model, so it’s important to know what to watch out for. Always remember to practice, take your time, and learn from your mistakes to create amazing models.
Overdoing the Weathering
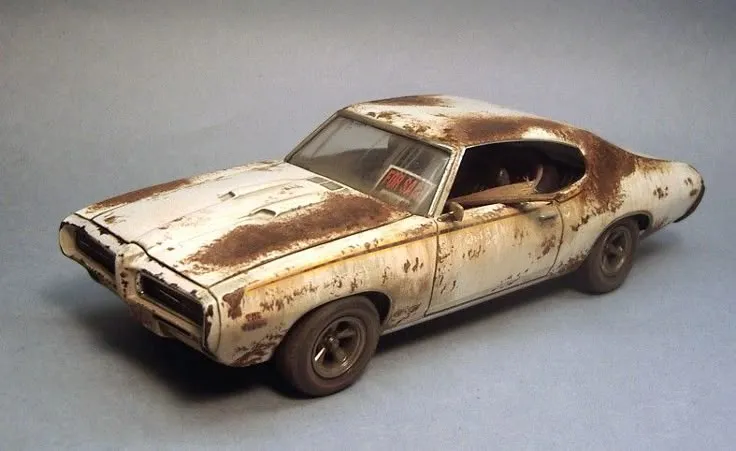
One of the most common mistakes is overdoing the weathering. It’s easy to get carried away and apply too much rust, dirt, or other effects. Over-weathering can make the model look unrealistic and detract from the overall appearance. It’s generally better to start with a subtle approach and add more weathering as needed. Carefully observe reference photos of real-world vehicles to get a sense of how much weathering is appropriate. Keep in mind that the goal is realism, and subtlety is often key.
Using the Wrong Materials
Using the wrong materials can also lead to problems. For instance, using paints that are not compatible with your model’s surface can lead to poor adhesion or unwanted reactions. Using the wrong type of thinner or cleaner can damage the model. Always research the materials you’re using and make sure they’re suitable for diecast models. Test the materials on a small, inconspicuous area of the model before applying them to the entire surface. When you use the correct materials, it will improve the final appearance and durability of your model.
Rushing the Process
Weathering diecast cars takes time and patience. Rushing the process can lead to sloppy results. It’s important to allow each step to dry completely before proceeding to the next. Trying to apply multiple layers of weathering at once can cause smudging and other issues. Taking your time and working methodically will ensure that each detail is applied correctly and will lead to a more professional-looking finish. Remember that patience is key to creating a truly realistic model.
Advanced Weathering Techniques
As you gain experience, you can explore more advanced weathering techniques to achieve even more realistic results. These techniques often require more skill and specialized materials, but they can dramatically enhance the detail and realism of your models. Experimenting with different techniques will add depth to your modeling skills, allowing you to create unique and intricate effects. The effort invested in these advanced techniques can significantly boost the visual appeal of your diecast cars.
Chipping and Scratching
Chipping and scratching techniques involve simulating the effects of paint chipping and scratches on the model’s surface. You can use a variety of methods to achieve these effects, including using a fine-tipped brush to paint individual chips, or using a chipping fluid. Another popular approach is to use a small piece of sponge to dab paint onto the model, creating a random pattern of chips. The goal is to create the illusion that the paint has been damaged, revealing the underlying metal or primer. This technique can greatly improve the realism and detail of your model.
Fading and Fading Effects
Fading effects simulate the effects of sunlight and weathering on the paint. To create these effects, you can use a variety of techniques, including airbrushing and dry brushing. Airbrushing can be used to apply light coats of paint, gradually fading the color of the model. Dry brushing can be used to highlight raised details and create a faded appearance. These techniques will improve the appearance and the overall realism of your model. With these techniques, you can give the model a sense of time and age.
Weathering Different Parts
Different parts of a diecast car weather differently. Understanding how each part is affected by the elements is crucial for creating realistic weathering effects. By paying attention to the details and varying your approach based on the specific area, you can greatly enhance the authenticity of your model. It is all about attention to detail and replicating the real-world effects that cause these parts to age and wear.
Weathering the Body
The body of the car is exposed to the elements and is therefore subject to a variety of weathering effects. This includes rust, fading, scratches, and dents. Applying washes to the panel lines will enhance the detail and create shadows. Chipping and scratching techniques can be used to simulate paint damage. Also, consider the environment where the car has been: a car in a desert environment will have more dust, while a car in a humid environment may have more rust. Paying attention to these details will make the body more realistic.
Weathering the Wheels
Wheels are subject to a lot of wear and tear. They can get covered in dirt, dust, and brake dust. You can simulate these effects by applying washes and pigments. Dry brushing can be used to highlight the details of the wheels, and a rust-colored wash can be used to simulate the effects of brake dust. The tires themselves can be weathered to look worn and dirty, adding to the overall realism. The weathering on the wheels is a key element to creating a realistic model.
Weathering the Undercarriage
The undercarriage of a car is often neglected, but it’s an important area for weathering. The undercarriage is subject to rust, dirt, and grime, especially on older vehicles. You can simulate these effects by applying washes and pigments to the chassis, exhaust, and suspension components. Pay attention to the areas where dirt and grime would naturally accumulate. Weathering the undercarriage adds a significant amount of realism to your model and gives it more visual appeal. It will give your model a more authentic and aged appearance.
In conclusion, weathering diecast cars is a rewarding and creative hobby that can greatly enhance the realism and visual appeal of your models. By learning the various techniques and practicing your skills, you can create miniature works of art that capture the essence of real-world vehicles. The key is to experiment, be patient, and have fun. With each model, you’ll improve your skills and develop your unique style.
