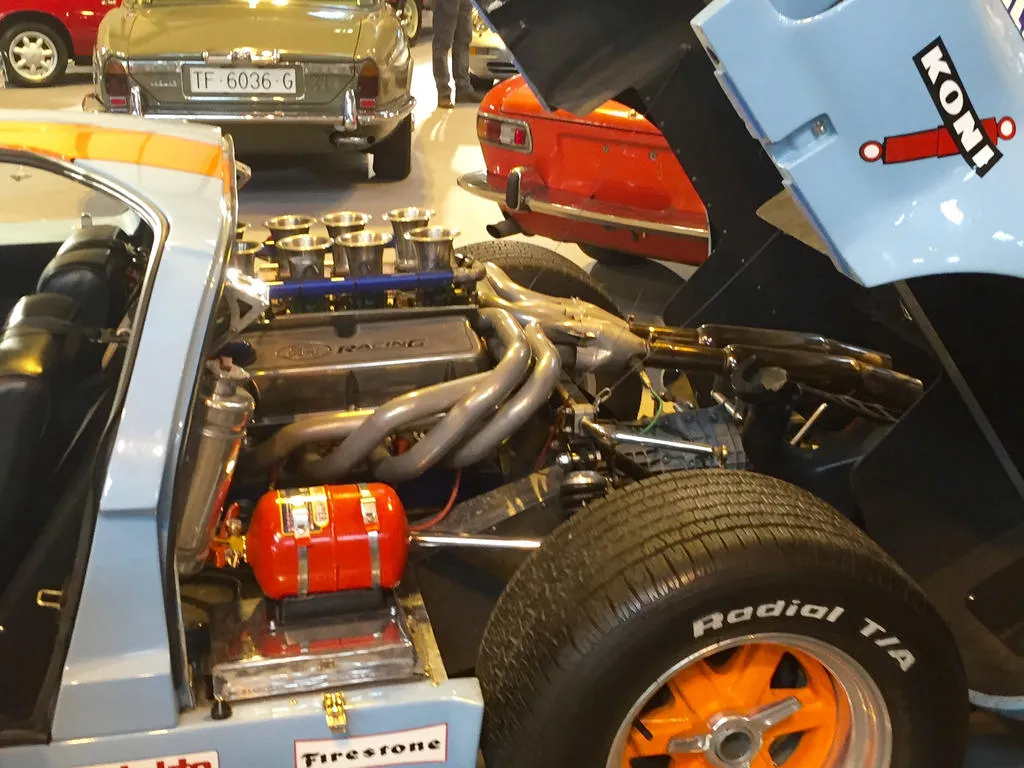
What is a Ford GT40 Diecast Engine
A Ford GT40 diecast engine is a scaled-down replica of the legendary engine that powered the Ford GT40 race car to victory at the 24 Hours of Le Mans. These models are typically made from diecast metal, which provides a high level of detail and durability. They are popular among automotive enthusiasts, model builders, and collectors who appreciate the craftsmanship and historical significance of this iconic engine. Diecast engine models allow hobbyists to engage with the mechanical intricacies of the GT40 in a hands-on way, offering a rewarding project for those who enjoy building and detailing intricate models. The models are often sold as kits, allowing builders to assemble the engine piece by piece, enhancing their understanding and appreciation of the original. The process of building these models is both educational and enjoyable, providing a tangible connection to automotive history.
Scale and Materials
Understanding the scale and materials used in your Ford GT40 diecast engine is essential before you begin building. The scale of these models varies, with the most popular being 1:18 and 1:24, though other scales such as 1:12 and 1:43 also exist. The scale determines the overall size of the model relative to the actual engine, affecting the level of detail and the complexity of the build. The materials used play a crucial role in both the appearance and the durability of the model. Most diecast engines are primarily constructed from zinc alloy, which provides a good balance of strength and detail. Other materials like plastic, rubber, and photo-etched parts are often included to replicate various engine components such as belts, hoses, and delicate details. Choosing the right scale and understanding the materials will help you select a model that matches your building skills and display preferences.
Common Diecast Engine Scales

Several scales are commonly used for Ford GT40 diecast engine models, each with its own advantages. The 1:18 scale is a popular choice because it offers a good balance between size, detail, and affordability. Models in this scale typically provide a high level of detail, making it easier to showcase the intricate features of the engine. The 1:24 scale is another frequently used option, being slightly smaller and often more budget-friendly, making it an excellent choice for beginners or those with limited display space. For those seeking an even greater level of detail and willing to invest more time and resources, 1:12 scale models provide an incredibly intricate building experience. Conversely, the smaller 1:43 scale offers a more compact option, perfect for collectors with limited display space. Each scale provides a different building and display experience, so consider your personal preferences when choosing a model.
Materials Used in Diecast Engines
The primary material used in diecast engines is typically a zinc alloy, chosen for its ability to capture fine details and its durability. Zinc alloy allows for precise molding of engine components, ensuring a high level of realism. Plastic is frequently used for smaller parts, such as covers, fans, and other non-structural components. Plastic offers flexibility and allows for intricate designs that might be challenging with metal. Rubber is often incorporated to replicate belts, hoses, and tires, providing a realistic look and feel. Photo-etched parts, which are thin metal sheets chemically etched with detailed designs, are often used for delicate components like grilles and intricate details, enhancing the model’s realism. Different manufacturers may use various combinations of these materials, so the choice of material can influence both the building experience and the final appearance of the model. Selecting a model with a good mix of materials can result in a more detailed and enjoyable build.
Tools You’ll Need
Before starting your Ford GT40 diecast engine build, it is important to gather the right tools. Having the correct tools will not only make the assembly process easier but also improve the quality of the finished model. These tools can range from basic items you might have at home to specialized tools designed for model building. Having everything prepared beforehand will prevent interruptions and enhance your enjoyment of the process. Proper preparation also ensures that each step can be completed efficiently, making the build much more rewarding. This meticulous approach can significantly affect the overall satisfaction derived from the project.
Essential Tools for Assembly

Essential tools for assembling your Ford GT40 diecast engine include a set of small screwdrivers, typically Phillips head and flathead, in various sizes. These are needed to secure screws that hold the engine components together. Tweezers are also critical for handling small parts and applying decals. A hobby knife, such as an X-Acto knife, is useful for trimming plastic parts, removing flash, and cleaning up edges. A pair of side cutters can be used for cutting plastic parts from their sprues. A good-quality glue specifically designed for plastic and metal is necessary for bonding parts together. A cutting mat is also essential to protect your work surface while cutting and sanding. Other tools include a set of needle files for removing imperfections and a small drill with various sized bits for creating holes and making modifications. Consider investing in a set of magnifying glasses or a magnifying lamp to assist with the fine details.
Tools for Detailing
Detailing tools will help you bring realism to your Ford GT40 diecast engine model. Fine-tipped paintbrushes are essential for applying paint to small parts and for detailing intricate areas. A set of paintbrushes with various sizes will allow you to achieve different effects, from broad coverage to extremely fine lines. A set of sanding sticks or fine-grit sandpaper is important for smoothing surfaces and preparing them for painting. These are available in a range of grits to handle different surface conditions. Additionally, a set of modeling files can be useful for smoothing and shaping parts. Weathering powders and washes can be used to add depth and create realistic effects, such as simulating dirt, grime, and rust. Airbrushing equipment, while optional, can provide a more professional finish and is especially useful for applying even coats of paint. Finally, consider using a set of detail-up parts, such as photo-etched components, which can further enhance realism.
Step-by-Step Assembly Guide
Assembling your Ford GT40 diecast engine is a rewarding process that requires patience and attention to detail. Following a step-by-step guide will help ensure a successful build. Before starting, carefully review the instructions, making sure you understand each step. Organize all parts and tools to keep everything within easy reach. Begin by preparing the engine block and related components. Then, move on to assembling the key engine components, such as the cylinder heads, pistons, and crankshaft. Once these are assembled, it’s time to install the various accessories, including the intake manifold, exhaust headers, and other essential parts. Finally, add detailing and finishing touches to complete the engine. This structured approach ensures a well-built model.
Preparing the Diecast Parts

Preparing the diecast parts is a crucial step in ensuring the quality of your Ford GT40 diecast engine build. Start by carefully removing the parts from their sprues or packaging, using side cutters or a hobby knife. This helps prevent damaging any delicate features. Inspect each part for any imperfections, such as flash or mold lines, and carefully remove them using a hobby knife or sanding sticks. This ensures that the parts fit together properly. Wash the parts with warm, soapy water to remove any oil or residue from the manufacturing process. This will help the paint adhere better. Allow the parts to dry completely before continuing to the next step. Preparing the parts meticulously helps provide a smooth and enjoyable building experience. Pay attention to all small details.
Assembling the Engine Block
The engine block is the foundation of your Ford GT40 diecast engine model. Begin by carefully assembling the block components according to the instructions. Often, this involves attaching the cylinder banks to the main block structure. Ensure all parts align properly before applying any adhesive. Use the appropriate type of glue for the materials involved. Once the block is assembled, consider adding any internal components, such as the crankshaft or pistons, before continuing. These parts can be fragile, so handle them with care. It’s important to check for correct alignment. Once the engine block is assembled, it provides a solid base for adding other essential components. Take your time during assembly and ensure that all parts are securely attached and properly aligned, as this will impact the overall integrity of your model. Proper preparation now ensures a sturdy and detailed engine.
Adding Engine Components
Adding engine components is where your Ford GT40 diecast engine starts to take shape. Following the instructions carefully, attach components such as the cylinder heads, intake manifold, and exhaust headers to the engine block. These parts significantly enhance the engine’s appearance and performance. Pay attention to the fit of each component, ensuring that it aligns correctly with the engine block and other parts. Consider using small amounts of glue to hold these parts in place. Proceed with other components, like the water pump, oil pan, and valve covers. This is a delicate procedure so it is important to carefully apply glue. Ensure all components are attached securely, and allow them to dry before proceeding to the next step. By adding these parts correctly, you will create a realistic and detailed model. Accurate component addition can be a very fulfilling process.
Detailing and Painting

Detailing and painting are the steps that will bring your Ford GT40 diecast engine model to life. Proper preparation is important. Before applying any paint, ensure all surfaces are clean and free of dust or debris. Use a primer to prepare the surface and provide a better foundation for the paint. Consider the paint colors for your engine. Paint the components with the appropriate colors, following the instructions provided. Use fine-tipped brushes for detailed painting, and consider airbrushing for larger surfaces. Once the paint has dried, apply decals to add markings and details. Finally, apply a clear coat to protect the paint and decals. This will also improve the final look of the model. This is a rewarding process.
Painting Techniques
Several painting techniques can be used to enhance your Ford GT40 diecast engine model. Start by preparing the surfaces with primer to promote paint adhesion and provide a consistent base. Use high-quality model paints specifically designed for diecast models. Apply multiple thin coats of paint, allowing each coat to dry completely before applying the next. This prevents runs and drips and creates a smooth finish. If using multiple colors, mask off the areas to be painted in different colors. Use masking tape or liquid mask for this purpose. Use fine-tipped brushes to detail smaller parts, such as bolts, wires, and other small details. Practice your skills and improve your technique. Consider using an airbrush for larger areas to achieve a smooth, even finish. Experiment with weathering techniques, such as washes and dry brushing, to add depth and realism. The painting techniques you use will significantly influence the overall appearance.
Adding Decals and Markings
Adding decals and markings will add realism to your Ford GT40 diecast engine. Before applying decals, prepare the surface by applying a gloss coat. This will provide a smooth surface for the decals to adhere to. Carefully cut out the decals from the sheet, and then soak them in water for a few seconds. Once the decals are loose, slide them from the backing paper onto the model. Use a soft brush or cotton swab to position the decals correctly. Press the decals gently to remove any air bubbles. After the decals have dried, apply a decal setting solution to help them conform to the surface and avoid any silvering. Once the setting solution is dry, apply a clear coat to seal the decals. Take your time and be patient, and you will achieve professional results. It is a fulfilling process.
Displaying Your Ford GT40 Diecast Engine

Once you’ve completed your Ford GT40 diecast engine, displaying it properly is the final step. Consider a display case or a custom base to showcase your model. Display cases protect your model from dust and damage. A custom base can add an extra touch of realism. Select a display location where the model can be seen and appreciated. Avoid direct sunlight. Take pride in your finished model. If you have built other models, consider creating a display that tells a story about the car, or the history of the GT40. Use appropriate lighting to highlight the details of your model. Displaying your model can provide years of pleasure and is a testament to your dedication.
Building a Ford GT40 diecast engine is a rewarding experience. Following the guidelines provided will help you with this process. The result is a beautiful model to be enjoyed.