What are Customizable Diecast Cars
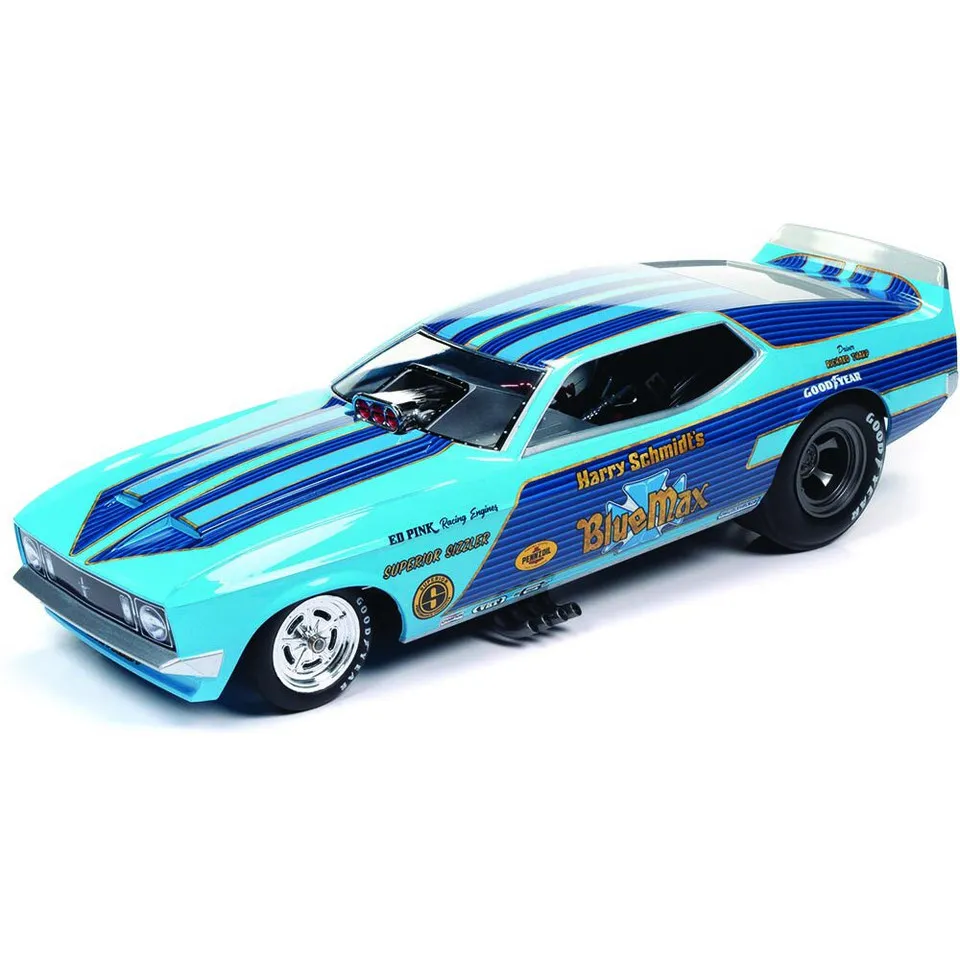
Customizable diecast cars represent a fascinating intersection of hobbies, craftsmanship, and personal expression. They are essentially miniature replicas of real-life vehicles, typically made from die-cast metal, that enthusiasts can modify and personalize to their liking. Unlike pre-built models, customizable diecast cars offer the opportunity to transform a mass-produced item into a unique work of art, reflecting individual creativity and attention to detail. This hobby appeals to a wide audience, from car enthusiasts who want to recreate their dream vehicles to artists seeking a new medium for their creativity. The level of customization can range from simple modifications like paint changes and decal applications to extensive overhauls involving detailed interior work, engine modifications, and even functional features. The beauty of this hobby lies in its versatility and the endless possibilities it offers. Whether you’re a seasoned modeler or a curious beginner, the world of customizable diecast cars is a rewarding space to explore.
The Allure of Custom Diecast Cars
The appeal of custom diecast cars stems from several key factors, starting with the personal satisfaction of creating something unique. The ability to take a standard model and transform it into a personalized masterpiece is incredibly gratifying. It allows you to express your individual style, whether you are replicating a specific car, creating a fantasy vehicle, or simply experimenting with different designs and colors. The hobby also offers a great way to learn about car mechanics, design principles, and various crafting techniques. Diecast car customization is also a social activity. Enthusiasts often gather at car shows, online forums, and hobby clubs to share their creations, exchange ideas, and learn from each other. This sense of community fosters a supportive environment for learning and growth. Furthermore, the detailed nature of customizing diecast cars provides a relaxing and therapeutic outlet, a way to de-stress and focus on a creative task. It is a hobby that can be enjoyed by people of all ages and skill levels, making it a fun and engaging pastime.
Why Customize Diecast Cars
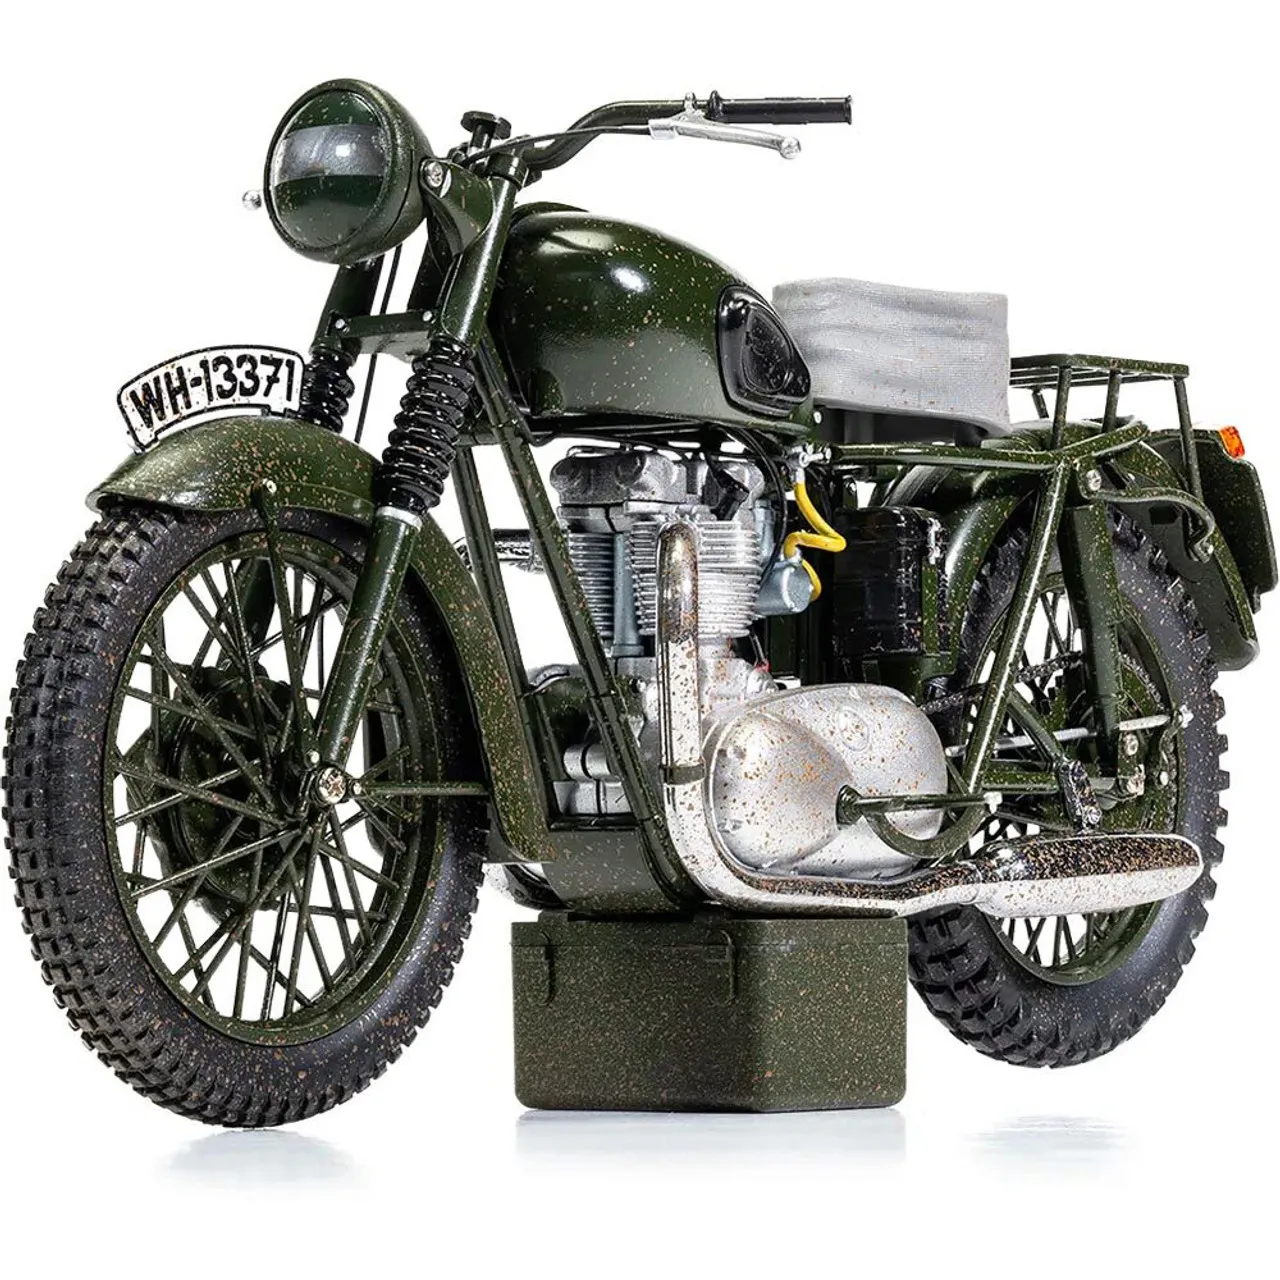
There are numerous reasons why people choose to customize diecast cars. For some, it’s the chance to own a miniature version of a car they’ve always admired or a vehicle that has sentimental value. Others may be driven by the challenge of replicating a specific make and model, often striving for hyper-realistic detail. The ability to experiment with different colors, designs, and modifications without the cost and commitment of working on a full-sized car is another major advantage. Customization also allows for the correction of factory flaws or the addition of features that enhance the model’s realism or visual appeal. Furthermore, the customization process offers a valuable learning experience, introducing enthusiasts to a variety of techniques, including painting, detailing, and assembly. The hobby encourages creativity, problem-solving, and attention to detail. Finally, the unique aspect of custom diecast cars means that they can become valuable collectibles, increasing in value as the skill of the creator grows and the rarity of the model increases. The chance to create something beautiful and unique is what motivates most enthusiasts.
Gathering Your Supplies
Embarking on your diecast car customization journey requires a well-equipped workspace and a selection of essential tools and materials. Before you begin, set up a well-lit, ventilated area where you can work without interruption. Good lighting is critical for detailed work, and ventilation is essential when working with paints and solvents. Start by gathering the necessary tools, which may include a small screwdriver set, pliers, hobby knives, sandpaper of various grits, and masking tape. You’ll also need a selection of paints, primers, and clear coats, along with brushes, airbrushes, or spray cans. A cutting mat, tweezers, and various adhesives, such as super glue and epoxy, are also essential. Having a magnifying glass can also be very useful for detailed work. It is important to also have safety equipment, such as safety glasses and a respirator. Purchasing quality tools and materials will greatly improve the outcome of your projects, therefore you should invest in high-quality tools and paints from reputable brands. Preparing the right tools will make all the difference.
Essential Tools You’ll Need
To get started with customizing diecast cars, you’ll need a basic toolkit comprising of several essential items. A good set of small screwdrivers, both Phillips head and flathead, is critical for disassembling the car. Precision pliers, including needle-nose and flat-nose, are also important for handling small parts and bending wires. Hobby knives with replaceable blades are perfect for trimming plastic and removing parts. Sandpaper in various grits (fine, medium, and coarse) is important for smoothing surfaces and preparing them for paint. Masking tape is a must-have for protecting areas that you don’t want to paint. For applying paint, you can use a variety of methods. Small paint brushes can be used for detail work, while an airbrush is preferred for achieving professional results. Tweezers are useful for handling small parts, decals, and delicate details. Furthermore, a magnifying glass is helpful for seeing intricate details. Also, a cutting mat is a must-have to protect your workspace and serve as a surface for cutting and trimming. Investing in quality tools will save you money and hassle in the long run, and make the customizing experience more enjoyable.
Choosing the Right Diecast Model
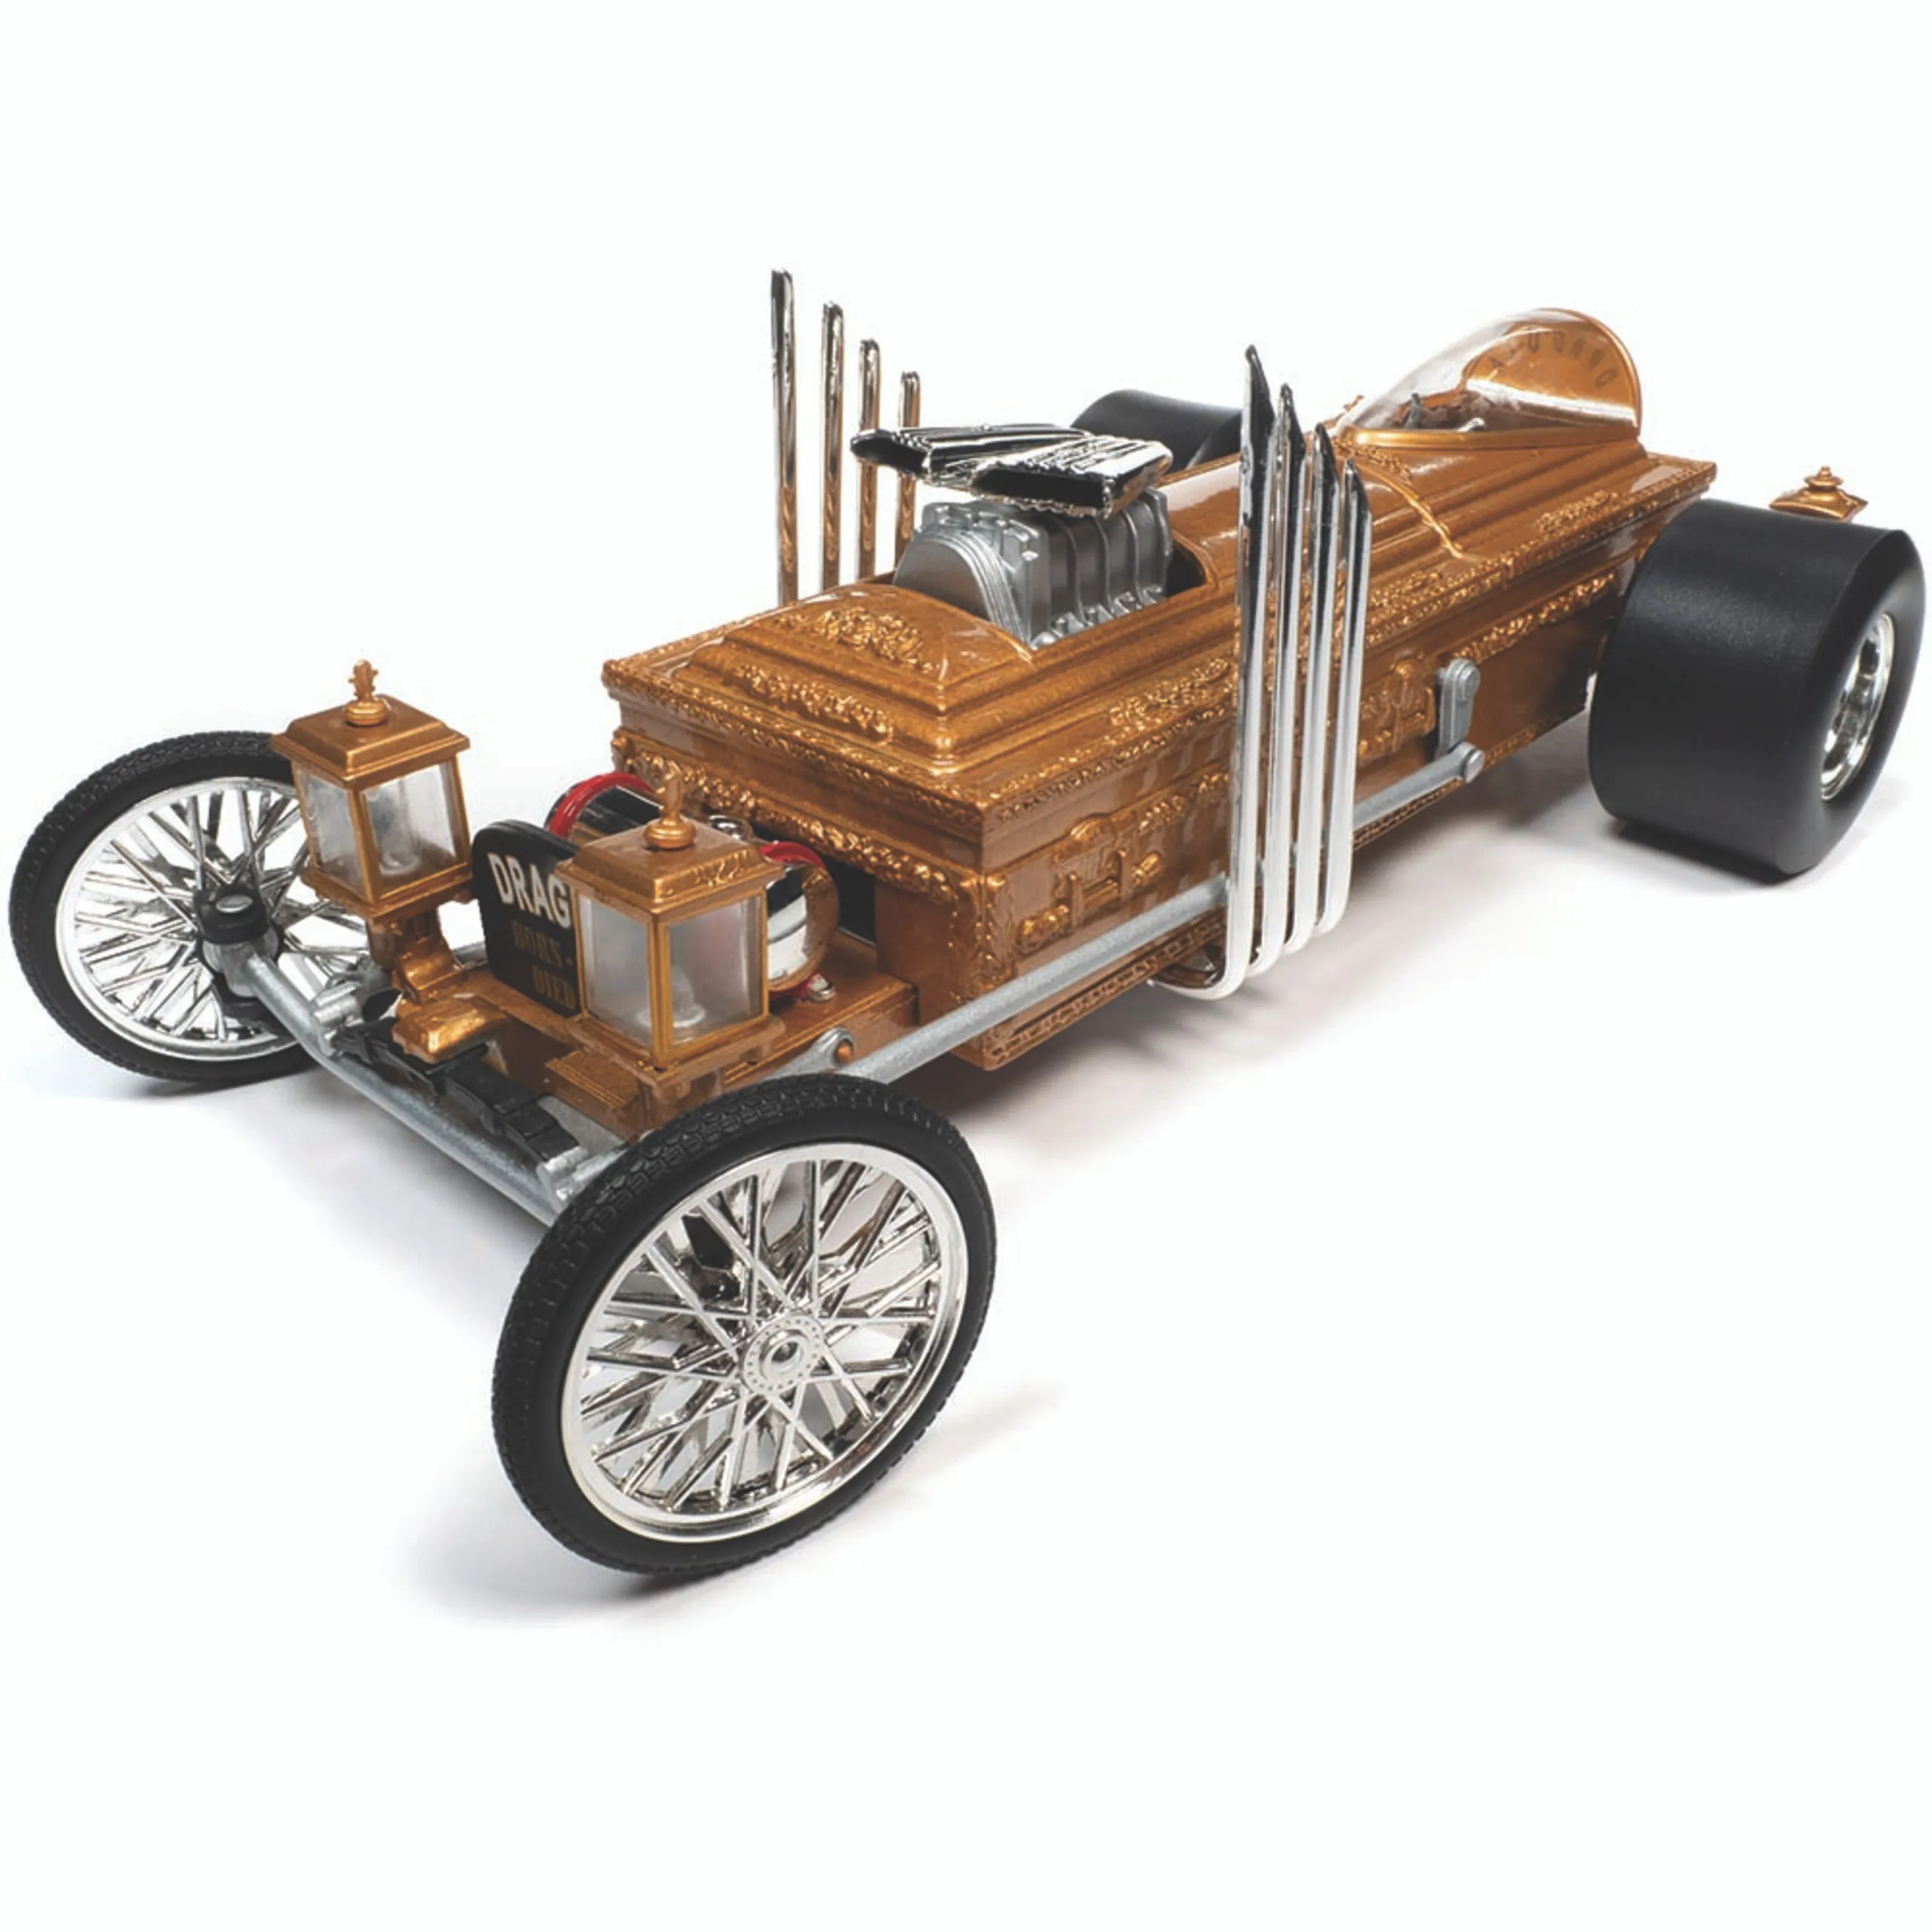
Selecting the right diecast model is the first step in your customization journey. Consider the scale, typically 1:18, 1:24, or 1:64, as it dictates the level of detail you can achieve and the complexity of the project. Larger scales offer more space for intricate detailing, while smaller scales are more budget-friendly and easier to handle. Research the available models and manufacturers, such as Hot Wheels, Maisto, and Autoart, to find the car you like. Select a model that has a design that you want to work with. Also, consider the car’s condition, focusing on models with simple designs and minimal detailing, as they are easier to customize for beginners. Inspect the model for any defects or imperfections that may require correction before you start. Consider the availability of aftermarket parts and accessories, as this can greatly enhance your customization options. Also, look at the car’s details, from the engine to the interior. A model with a good level of factory detail will provide a great base for your customizations. Ultimately, the best model is one that inspires you and matches your skill level and project goals, so select something you like.
Planning Your Customization
Before you start dismantling your diecast car, careful planning is crucial for a successful outcome. It all begins with a clear idea of what you want to achieve. Gather inspiration from various sources, such as online car customization forums, magazines, and real-life vehicles, to develop a vision for your project. Sketch out your design ideas and take detailed notes on the modifications you plan to make. This will help you visualize the final product and identify any potential challenges. This detailed plan also will help you consider the specific tools, materials, and techniques that you will need. Prioritize your tasks and set realistic goals for each stage of the project. Break down your customization into manageable steps, such as disassembly, preparation, painting, detailing, and assembly. Do some research on techniques such as the right paints and finishes to use to achieve the desired look. Ensure the car will have an overall design that goes together and looks cohesive. Careful planning will save you time, effort, and frustration, leading to a more satisfying and rewarding customization experience.
Brainstorming Design Ideas
Brainstorming is a vital part of the diecast car customization process. Look at online resources for ideas. The internet is filled with photos of custom cars. Consider the overall theme you want to achieve, whether it’s a classic look, a modern aesthetic, or a unique fantasy design. Think about the car’s color scheme, taking into account the use of contrasting colors, accents, and detailed designs. Decide whether you want to modify the car’s bodywork, such as adding spoilers, body kits, or custom hoods. Consider any modifications that will give the model a new style. Interior design also plays a major part in the overall look, so do research and plan for specific materials to be used. When you have the plan, make a list of your ideas and prioritize them. Once you have a solid foundation of ideas, you can start creating a detailed plan.
Creating a Detailed Plan
After brainstorming, create a detailed plan for your diecast car customization project. Start by creating a checklist for all the modifications you plan to make, from the bodywork to the interior. Create a list of all the tools and materials you’ll need, including paints, primers, adhesives, and any aftermarket parts or accessories. Detail all the steps involved in each stage of the customization, from disassembly and preparation to painting and assembly. Include specific techniques you plan to use. Consider each stage of your project, and note any challenges you anticipate. Estimate how much time each task will take to help you stay on schedule and manage your resources effectively. Ensure all steps and materials can be completed with your skillset. As you progress, document each step with photos. This will help you track your progress, identify any mistakes, and serve as a reference for future projects. A detailed plan is a roadmap to success and will keep you organized throughout the process. This plan allows you to avoid making mistakes and create the car of your dreams.
The Customization Process
The customization process is where your vision transforms into reality, and it involves several key stages. This begins with careful disassembly and preparation, followed by painting, detailing, and assembly. Each step demands careful attention to detail and the use of appropriate techniques. Patience is the key to success in this process. Work methodically, and don’t rush. Take your time and enjoy the process. The rewards of the transformation will be great. If you run into problems, there are resources available online, so don’t be afraid to ask for help. Customization allows you to learn new skills, express your creativity, and create a unique piece of art. Remember that practice, experience, and a willingness to learn are the most important ingredients for success.
Disassembly and Preparation
Before you start modifying your diecast car, you’ll need to carefully disassemble it. Use the appropriate tools to remove screws, clips, and other fasteners that hold the car together. Take photos of each stage to remember how the car fits together. This step requires patience, especially when dealing with delicate parts. Once the car is disassembled, prepare each component for customization. Remove any existing paint using paint strippers or fine sandpaper. Smooth any imperfections and use filler to repair any damage. Clean all the parts thoroughly to remove any dust, grease, or debris. Prime the surfaces to create a smooth base for painting. Mask off areas that you don’t want to paint, such as windows, lights, and chrome trim. The quality of your preparation will greatly affect the final result, so don’t skip any steps. Careful preparation is essential to ensure that your paint adheres properly and that your customizations look professional.
Painting Techniques for Diecast Cars
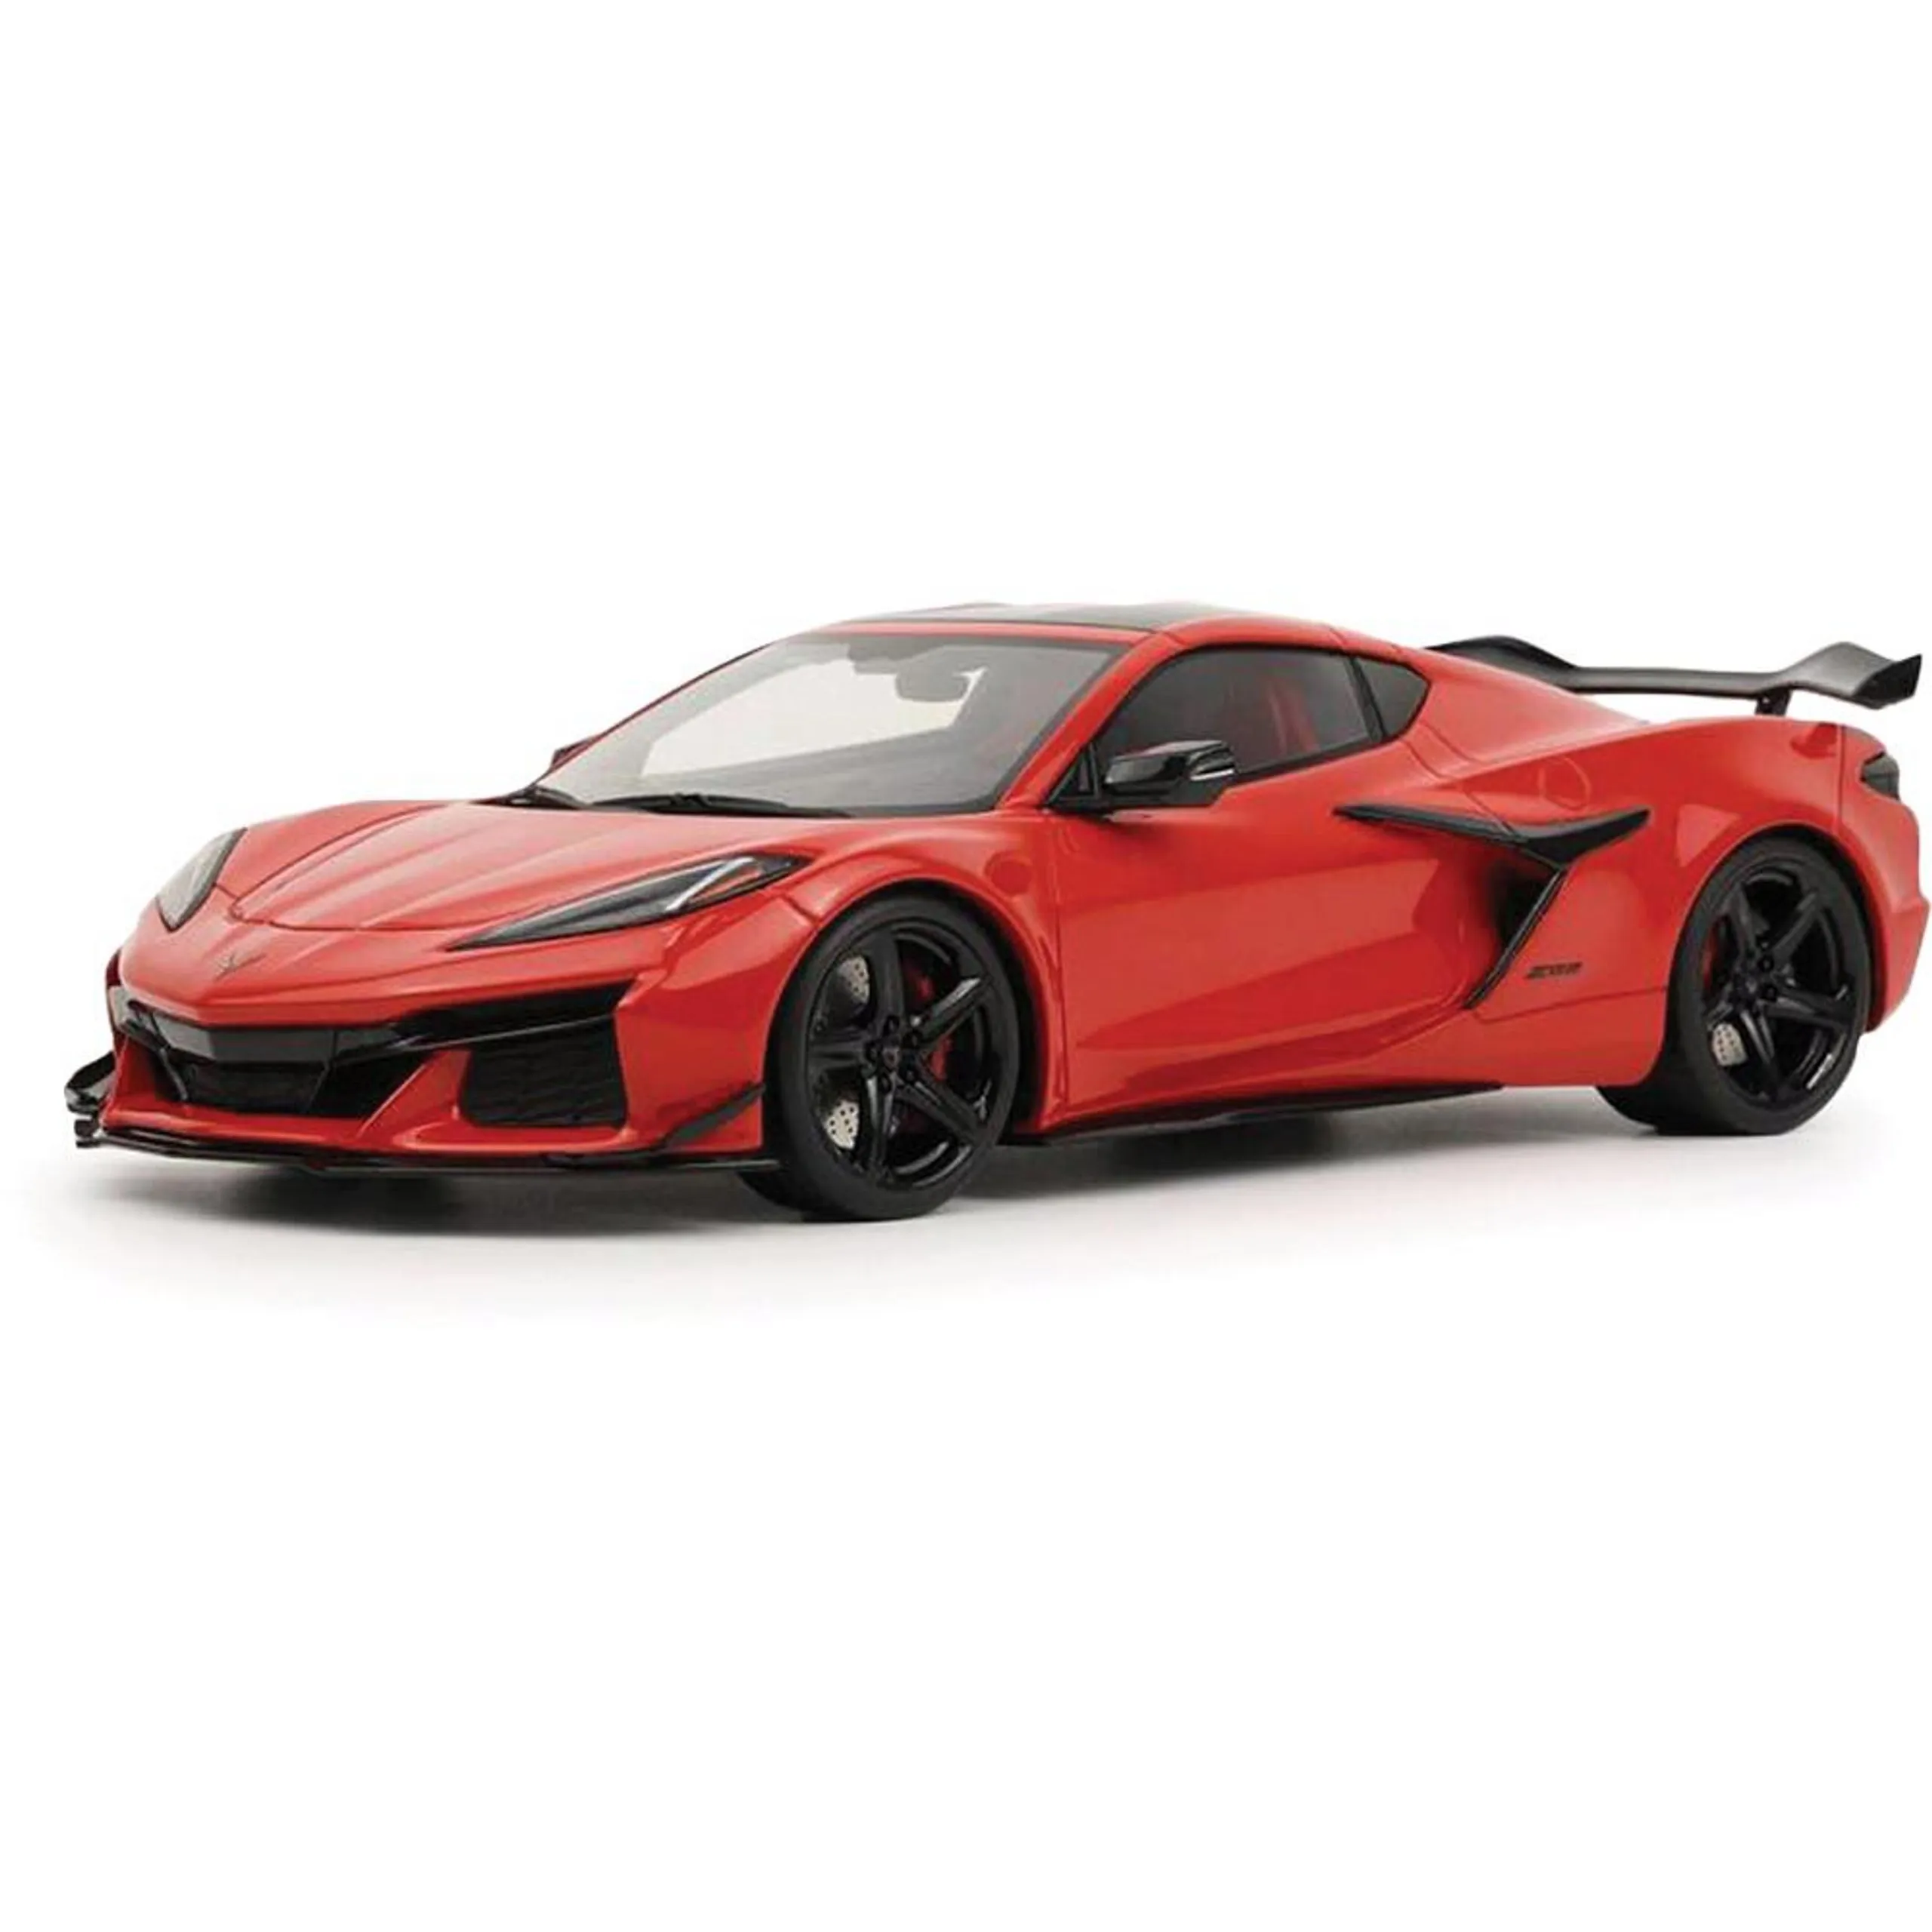
Painting is a key part of the customization process, so it’s important to follow the correct steps for a professional finish. Begin by selecting the right paints, which are often acrylic-based and specifically designed for model cars. Apply several thin coats of primer to create a smooth surface for the paint. Use an airbrush or spray can to apply even coats of paint, allowing each coat to dry before applying the next. Avoid applying too much paint at once, as this can lead to runs and imperfections. Once the paint has dried, apply a clear coat to protect the paint and add a glossy finish. Use masking tape to create clean lines and details. For intricate designs, consider using decals or stencils. Consider the type of paint and the desired effect. Practice is key, so start with small projects or test pieces before working on the main model. By following these painting techniques, you can achieve a high-quality finish that will enhance the overall appearance of your custom diecast car.
Detailed Assembly and Finishing Touches
Once the painting is complete, it’s time to assemble the model and add the finishing touches. Carefully reassemble all the parts, using the photos you took during disassembly as a guide. Pay close attention to detail, ensuring that all the components fit together correctly. Add any additional details, such as decals, custom emblems, or interior modifications. Use super glue or epoxy to secure small parts and accessories. Remove the masking tape, and inspect the model for any imperfections. Correct any mistakes and touch up any areas as needed. Consider weathering techniques, such as washes and dry brushing, to add realism to your model. Display your finished model in a safe place. By taking your time and paying attention to detail, you can create a custom diecast car that showcases your creativity and craftsmanship. This is where your work will shine and you get to enjoy the fruits of your labor. The final step is the most rewarding part of the entire process.
Displaying and Showcasing Your Work
Showcasing your custom diecast cars is a great way to share your passion and appreciate your work. Consider a dedicated display area to display your models. Display cases or shelves can protect your cars from dust and damage. Arrange your cars in a way that highlights their unique features and designs. Consider grouping cars by theme, scale, or manufacturer. You can create dioramas to add context and interest to your displays. Use lighting to highlight the details of your models. Share your creations online through social media platforms, online forums, and dedicated model car websites. Participate in local model car shows to showcase your work and connect with other enthusiasts. Document your projects with photos and videos, sharing your progress and techniques. Your finished creations are a testament to your skill and dedication. Sharing them allows you to connect with a community of enthusiasts and inspire others to pursue their own customization projects. Showcasing your work also allows you to get feedback and learn from other enthusiasts.
Tips for Maintaining Your Custom Diecast Cars
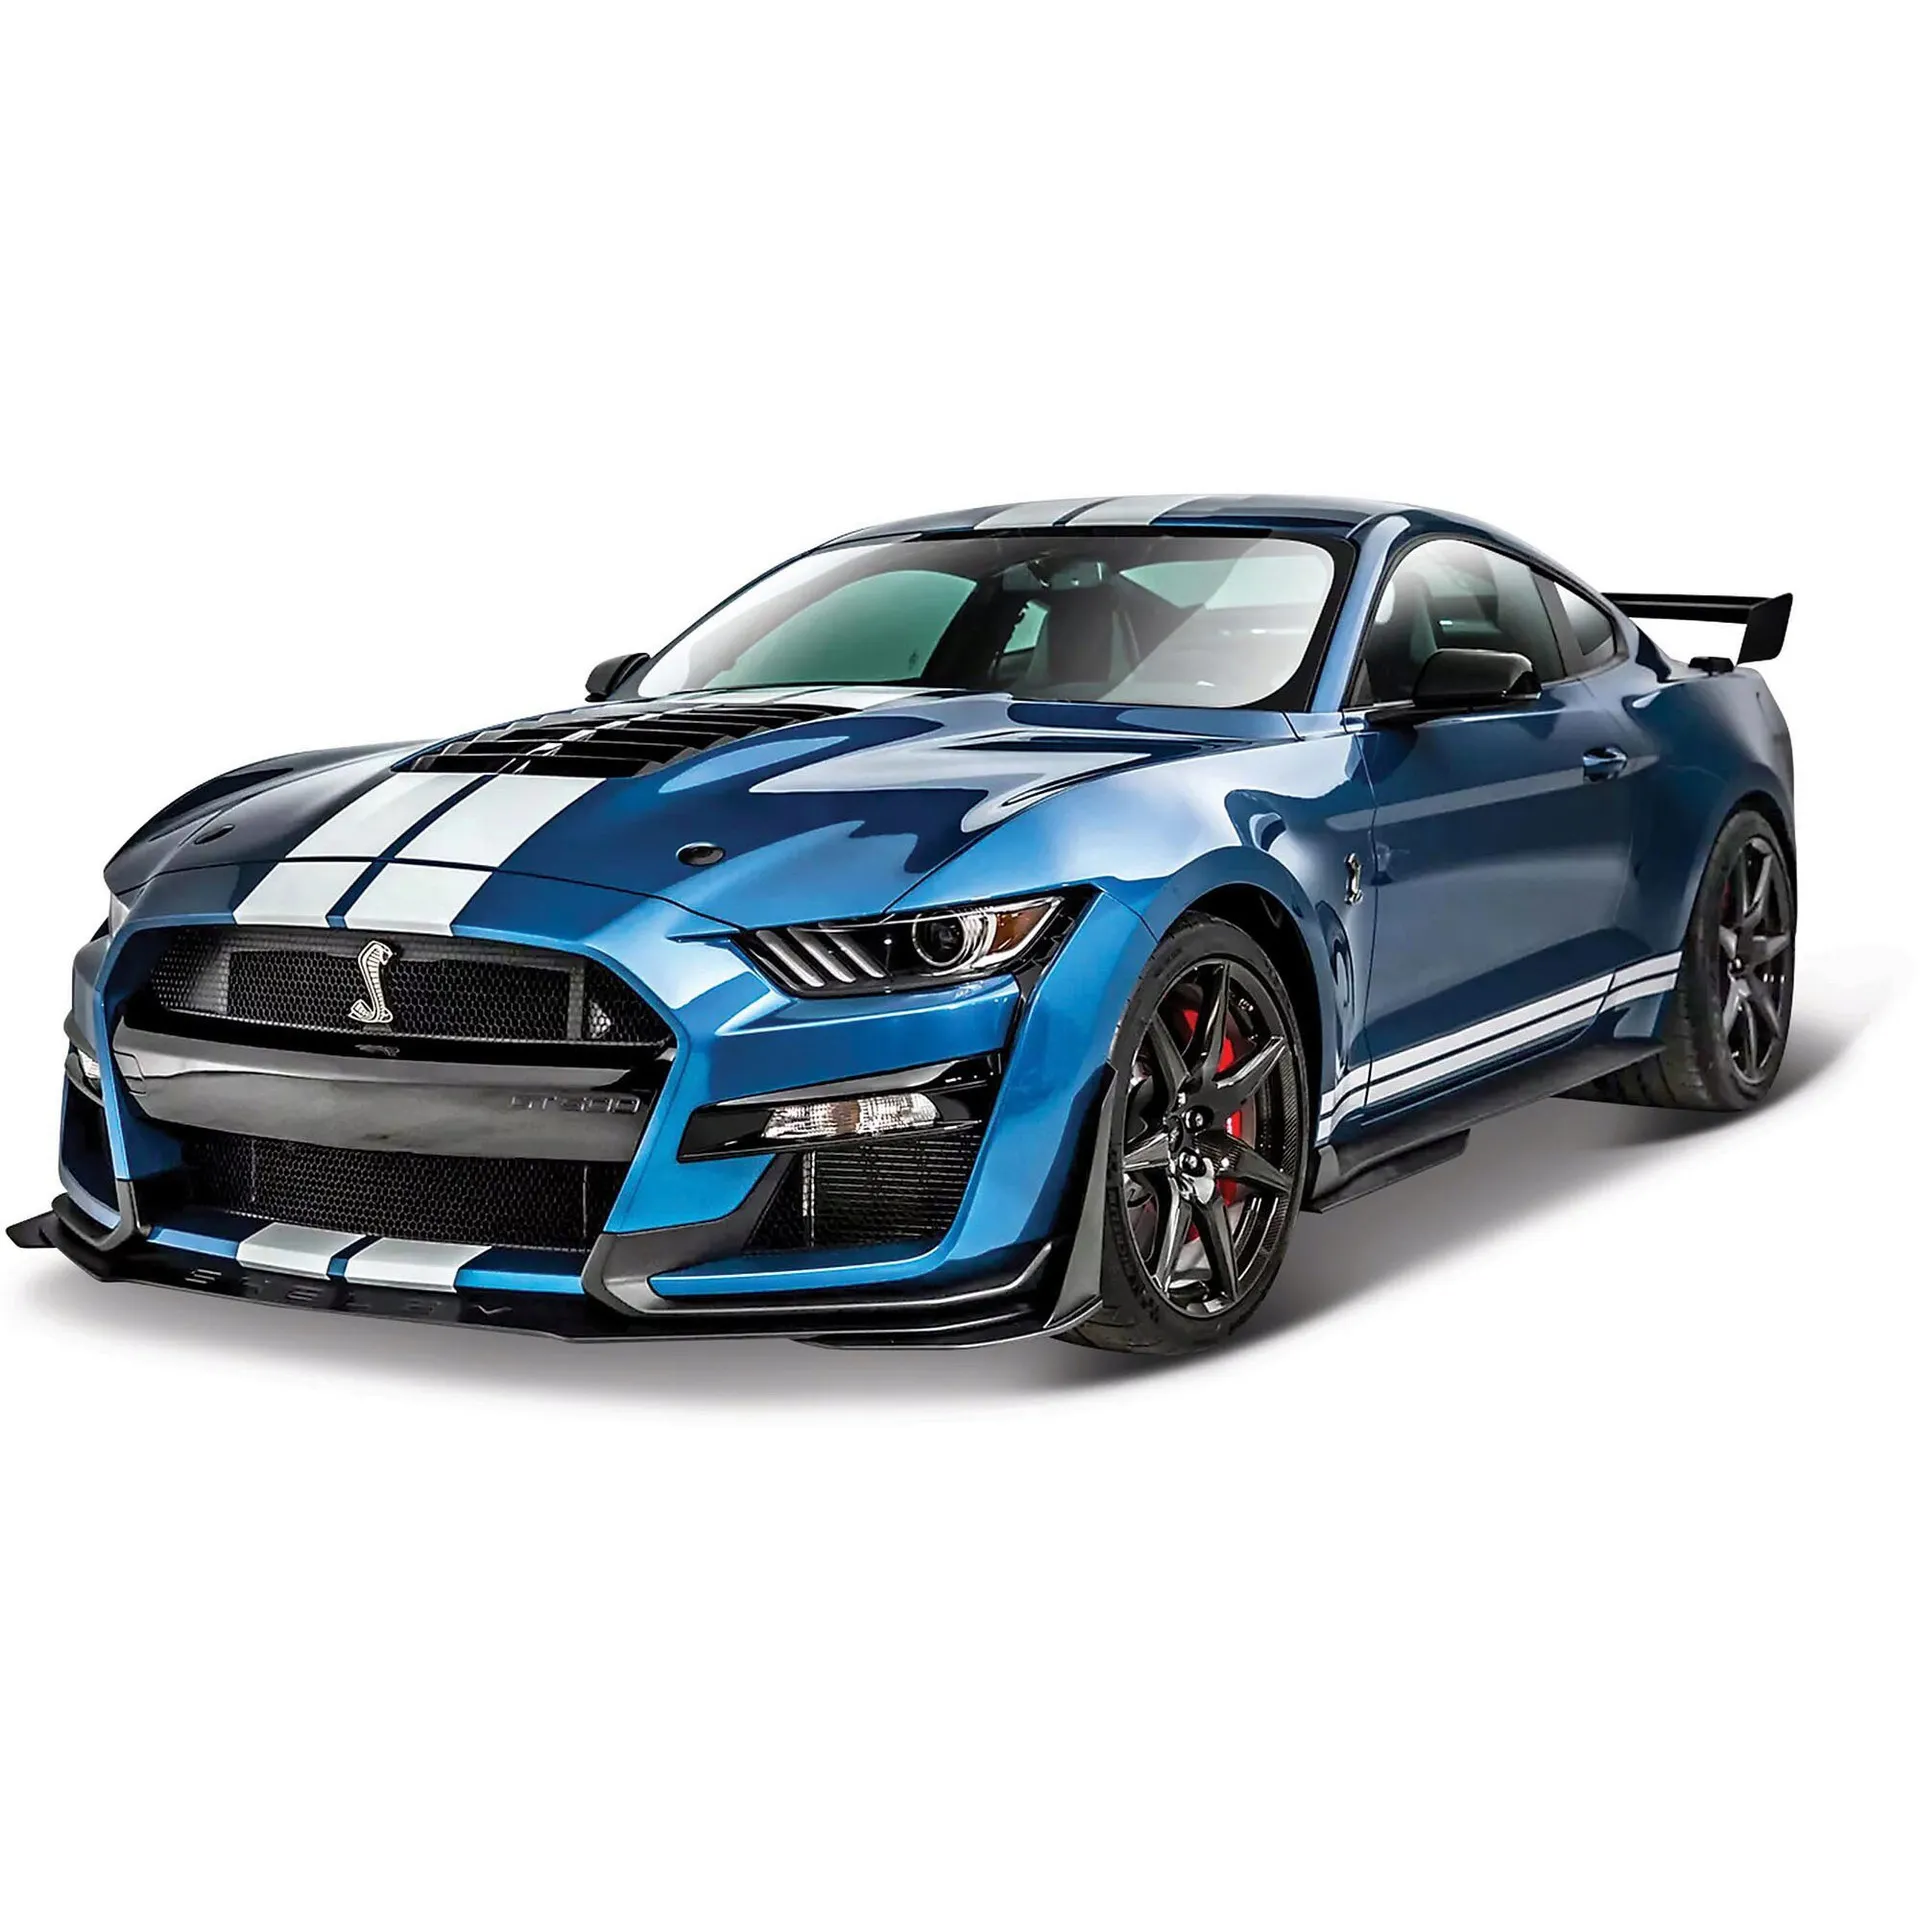
Maintaining your custom diecast cars will keep them in good condition for years to come. Protect them from dust and dirt by storing them in display cases or enclosed shelves. Clean your models regularly using a soft brush or cloth, and avoid using harsh chemicals. Handle your models with care, and avoid touching them with your bare hands. Display your cars away from direct sunlight and extreme temperatures, as these conditions can damage the paint and materials. Regularly inspect your models for any signs of damage or wear. If any repairs are needed, address them promptly. When moving or transporting your models, be sure to package them carefully to prevent damage. Following these simple tips, you can ensure that your custom diecast cars remain in great condition and continue to bring you joy for years to come. These steps will preserve your creations for years to come.
