What is Airbrush Paint for Metal Diecast?
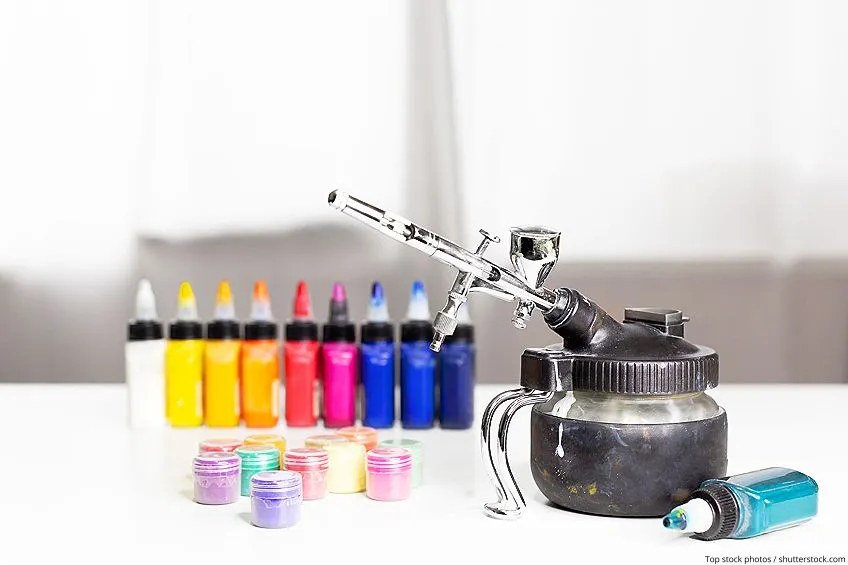
Airbrush paint for metal diecast refers to specialized paints designed to be applied using an airbrushing technique onto metal model cars, vehicles, and other miniature figures. Unlike brush-on paints, airbrush paints are formulated to flow smoothly through the airbrush, creating a fine, even coat. These paints are typically solvent-based or water-based, offering a variety of finishes such as matte, satin, or gloss. The choice of paint depends heavily on the desired effect, the metal diecast model’s material, and the painter’s experience. Airbrushing allows for intricate details, smooth gradients, and a professional finish that is challenging to achieve with traditional brush painting. The process involves using compressed air to atomize the paint, allowing for superior control and precision, crucial for achieving realistic effects on metal diecast models. Proper preparation of both the paint and the model itself is key to achieving the best results.
Why Use Airbrush Paint on Metal Diecast?
The primary reason to use airbrush paint on metal diecast is to achieve a superior finish compared to brush painting. Airbrushing provides a smoother, more even coat of paint, eliminating brush strokes and imperfections that are common with manual application. This is particularly important for metal diecast models, where the surface needs to reflect light evenly to enhance the model’s realism. Furthermore, airbrushing allows for greater control over paint application, making it easier to create gradients, shadows, and other intricate details that are difficult to replicate with a brush. The ability to apply very thin layers of paint with an airbrush helps preserve fine details on the model, which can be obscured by thicker brush-applied coats. Airbrushing also offers greater efficiency, as it can cover large areas quickly and with minimal effort, making it a preferred method for modelers aiming for a professional-looking finish.
The Advantages of Airbrushing Metal Diecast
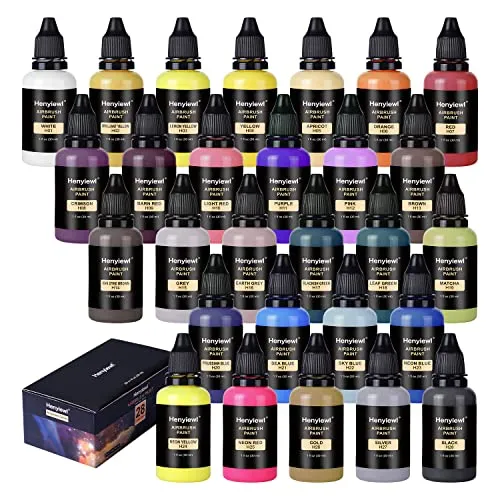
Airbrushing offers several advantages when it comes to painting metal diecast models. One of the main benefits is the ability to create a flawless finish. Airbrushes atomize paint into very fine particles, resulting in a smooth, even coating without brush marks. This is essential for achieving a realistic appearance, especially on detailed models. Another advantage is the versatility in terms of effects. Airbrushing allows modelers to create subtle color transitions, weathering effects, and complex patterns that would be difficult to achieve with traditional methods. The precision of an airbrush also enables the painter to preserve the fine details of the model, such as panel lines, rivets, and other small features, which can be easily lost with thicker paint applications. Moreover, airbrushing is faster and more efficient than brush painting, particularly for large areas, and allows for greater control over paint thickness and coverage, enhancing the overall quality of the finished product. The final look is far superior to any brushing method.
Choosing the Right Airbrush Paint for Metal Diecast
Selecting the right airbrush paint for metal diecast involves careful consideration of several factors. First, you should consider the paint type (acrylic, enamel, or lacquer), as each has unique properties. Acrylic paints are water-based, low odor, and easy to clean, making them ideal for beginners. Enamel paints provide a durable finish but require solvents for thinning and cleaning. Lacquer paints offer excellent durability and a smooth finish but can be more challenging to use due to their strong solvents. Also, consider the finish you desire (matte, satin, gloss), which will influence the final look of your model. Paint compatibility with the metal of the diecast is crucial; some paints may not adhere well or could react with the metal. Always read the manufacturer’s instructions for thinning, application, and drying times. Additionally, think about color options and availability. The paint’s durability, including its resistance to chipping and fading, should also be a primary consideration. Finally, your skill level and the complexity of the project should influence your choice; some paints are more forgiving than others.
Types of Airbrush Paints
There are primarily three types of airbrush paints used for metal diecast models acrylic, enamel, and lacquer paints. Each has distinct characteristics that make it suitable for different applications. Acrylic paints are water-based, which means they’re easy to clean up with water, making them beginner-friendly and safer to use. They dry relatively quickly and offer good flexibility, preventing cracking. Enamel paints, on the other hand, are solvent-based, providing a durable and glossy finish. They require specific solvents for thinning and cleaning, and they take longer to dry. Lacquer paints are also solvent-based, known for their superior durability and ultra-smooth finish. They dry extremely fast, making them ideal for projects that require quick turnaround times. However, they emit strong fumes and demand careful handling and ventilation. The best choice depends on your skill level, desired finish, and the specific requirements of your modeling project. Consider the paint’s durability, the ease of use, and the compatibility with the metal diecast model when deciding which type to use.
Acrylic Paints
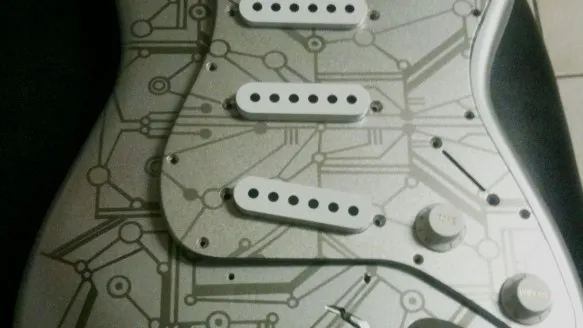
Acrylic paints are a popular choice for airbrushing metal diecast models due to their ease of use and relatively low toxicity. They are water-based, making them simple to clean up with water, reducing the need for harsh solvents and making them safe for indoor use, provided there is adequate ventilation. Acrylics generally have a lower odor compared to enamels or lacquers. They dry quickly, allowing for faster project completion, and offer excellent flexibility, which minimizes the risk of cracking or chipping, especially during handling. Acrylics are available in a wide range of colors and finishes, from matte to gloss, and are compatible with many primers and clear coats. However, they may not be as durable as enamel or lacquer paints, and some acrylics can be more susceptible to scratching. Despite these minor drawbacks, their ease of use, safety, and versatility make acrylic paints an excellent choice for both beginners and experienced modelers alike, especially those who prioritize ease of use and environmental considerations. They are generally easier to work with for layering and blending.
Enamel Paints
Enamel paints are a solvent-based option known for their durability and glossy finish, making them a good choice for models that require a long-lasting, robust appearance. They are highly resistant to scratches and chipping, providing excellent protection to the metal diecast surface. Enamels require specific solvents for thinning and cleaning, which can have stronger odors and require more careful handling than water-based acrylics. They typically have a longer drying time compared to acrylics and lacquers, which can be a drawback for modelers looking for quick project completion. However, this slower drying process allows for more time to work on blending and correcting mistakes. The smooth, glossy finish that enamel paints produce often enhances the visual appeal of metal diecast models, giving them a professional and realistic look. Enamels are excellent for producing those showroom quality finishes. Their lasting quality makes them a favorite of many modelers, and the durability of enamels cannot be overstated.
Lacquer Paints
Lacquer paints are solvent-based paints prized for their exceptional durability and ultra-smooth finish, making them a top choice for achieving a high-quality, professional-looking appearance on metal diecast models. They dry extremely fast, allowing for rapid project turnaround times, which is a significant advantage for modelers working on multiple projects or under time constraints. Lacquers provide a hard, scratch-resistant coating that protects the metal surface effectively. However, due to their strong solvents, they emit potent fumes and require careful handling, along with proper ventilation, during application and drying. Lacquer paints are also more sensitive to certain environmental conditions and can be trickier to apply smoothly without experience. The speed at which they dry can also make it more challenging to correct mistakes. Despite these challenges, the superior finish and durability of lacquer paints make them a popular choice among experienced modelers who are willing to manage the complexities of their use. They are also very thin and apply in small quantities which gives the painter fine control.
Factors to Consider When Choosing Paint
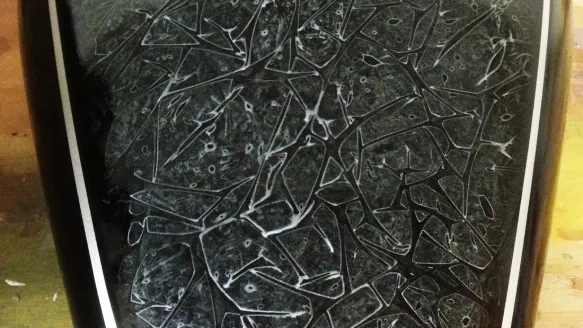
When selecting airbrush paint for metal diecast, several factors should guide your decision. The paint’s compatibility with the metal surface is crucial. Some paints may not adhere well to certain metals or could react and damage the surface, so make sure the paint is suitable for diecast. Consider the durability and resistance to wear and tear; the best paints will resist chipping, scratching, and fading over time. The desired finish (matte, satin, or gloss) will dictate the type of paint you choose, with different formulations offering varying levels of shine. Evaluate the paint’s ease of use, including thinning requirements and cleanup procedures, especially if you’re a beginner. Also, consider the color selection and availability, ensuring you can find the exact shades you need for your model. Your experience level should also influence your choice; some paints are more forgiving than others. Furthermore, evaluate the paint’s drying time, as it can impact project timelines. Finally, consider the paint’s odor and any necessary safety precautions, especially if you are working in an enclosed space. All these considerations will help you find the perfect airbrush paint to match your needs.
Essential Tools and Materials for Airbrushing
To successfully airbrush metal diecast models, you’ll need a range of essential tools and materials. This includes an airbrush system, suitable paints, and various other accessories. The core components are the airbrush itself, which can be a single-action or dual-action model; a dual-action airbrush gives you more control and is generally preferred for detailed work. You will also need an air compressor to supply the air. A compressor with a moisture trap is recommended to prevent water from contaminating your paint and ruining your finish. Other tools include paint, such as acrylics, enamels, or lacquers specifically designed for airbrushing metal diecast models. You’ll also need a suitable primer, often a self-etching primer, to help the paint adhere to the metal surface. Cleaning supplies, such as airbrush cleaner, thinner, and cleaning brushes, are crucial for maintaining your equipment. Consider also having a well-ventilated spray booth to control overspray and protect your workspace. Finally, you should have masking tape, masking fluid, and other detailing tools to create precise patterns and designs.
Airbrush Equipment
The right airbrush equipment is fundamental to achieving professional-quality results when painting metal diecast models. The airbrush is the primary tool and comes in two main types single-action and dual-action. Single-action airbrushes control paint flow by pressing the trigger; dual-action airbrushes have a trigger that controls both air and paint independently, allowing for more precise control over the paint application. A quality air compressor is essential for supplying a consistent flow of air. Look for a compressor with a pressure regulator, which allows you to adjust the air pressure to suit your paint and project. It is also recommended to have a moisture trap to remove any water that may condense in the air lines, which can lead to paint defects. Other essential equipment includes an airbrush holder, cleaning brushes, and a spray booth to contain the overspray and provide proper ventilation. A good quality airbrush kit will usually include these items. The quality of your equipment directly impacts the quality of your paint finish, so it is wise to invest in reliable equipment.
Air Compressor
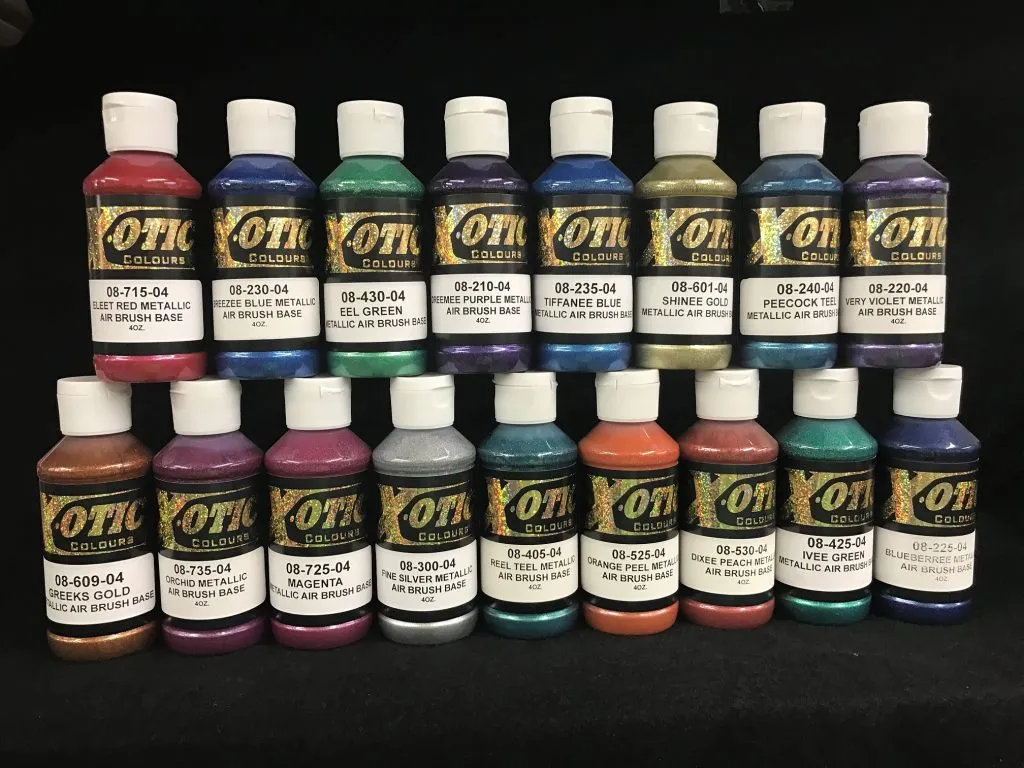
The air compressor is a critical component of your airbrushing setup. It provides the necessary compressed air to atomize the paint and propel it through the airbrush. Choosing the right compressor involves considering several factors. The compressor should provide a consistent and reliable air supply at the required pressure, typically between 15 and 30 PSI for most airbrushing applications. Look for a compressor with a pressure regulator, allowing you to fine-tune the air pressure according to the paint type and desired effect. A tanked compressor is preferable, as it provides a reservoir of compressed air, reducing the frequent cycling of the motor and maintaining a more consistent air pressure. A moisture trap is essential to remove any water that may condense in the air lines, preventing paint defects like splattering and orange peel. Consider the noise level, especially if you’re working in a shared space, and look for a compressor that operates quietly. The size and portability of the compressor should also factor into your decision, depending on your workspace. Investing in a good-quality air compressor will improve the performance of your airbrush and ensure a smoother, more professional finish on your metal diecast models.
Airbrush
Selecting the right airbrush is crucial to the success of your metal diecast painting projects. There are two main types single-action and dual-action airbrushes. Single-action airbrushes control the paint flow by pressing down on the trigger, while dual-action airbrushes offer more control, allowing you to control air and paint flow independently. This allows for better precision in achieving fine details and subtle shading. The size of the nozzle and needle also impacts the paint flow; a smaller nozzle is ideal for fine lines and details, while a larger one is suitable for covering larger areas. Consider the material of the airbrush, as higher-quality models are typically made of durable materials like metal. Ergonomics are also essential, ensuring that the airbrush fits comfortably in your hand for extended use. Look for features like adjustable paint flow, which helps to control the paint output. An airbrush that is easy to disassemble and clean is important for maintenance. The right airbrush will significantly enhance your ability to achieve smooth, professional finishes and intricate details on your metal diecast models, improving the overall quality of your paint job. Also make sure to familiarize yourself with the cleaning of the airbrush.
Paint Preparation
Proper paint preparation is vital for achieving a flawless finish on your metal diecast models. Begin by ensuring that your paint is properly mixed. If using enamel or lacquer paints, add the appropriate thinner according to the manufacturer’s instructions and mix thoroughly to achieve a smooth, consistent consistency. For acrylic paints, water or a specialized acrylic thinner can be used. The correct thinning ratio is crucial for optimal flow through the airbrush. Test your paint consistency by spraying it onto a piece of scrap plastic or cardboard. The paint should spray evenly without sputtering or creating spiderwebs. Strain the paint through a fine mesh strainer to remove any particles that could clog the airbrush. Also, make sure that your workspace is clean and free of dust and debris, as these can contaminate the paint job. By taking the time to properly prepare your paint, you will ensure a smooth, even application, and achieve a professional-looking finish on your metal diecast models. Make sure you have the right safety equipment, such as a mask, and that you are working in a well ventilated area.
Cleaning Supplies
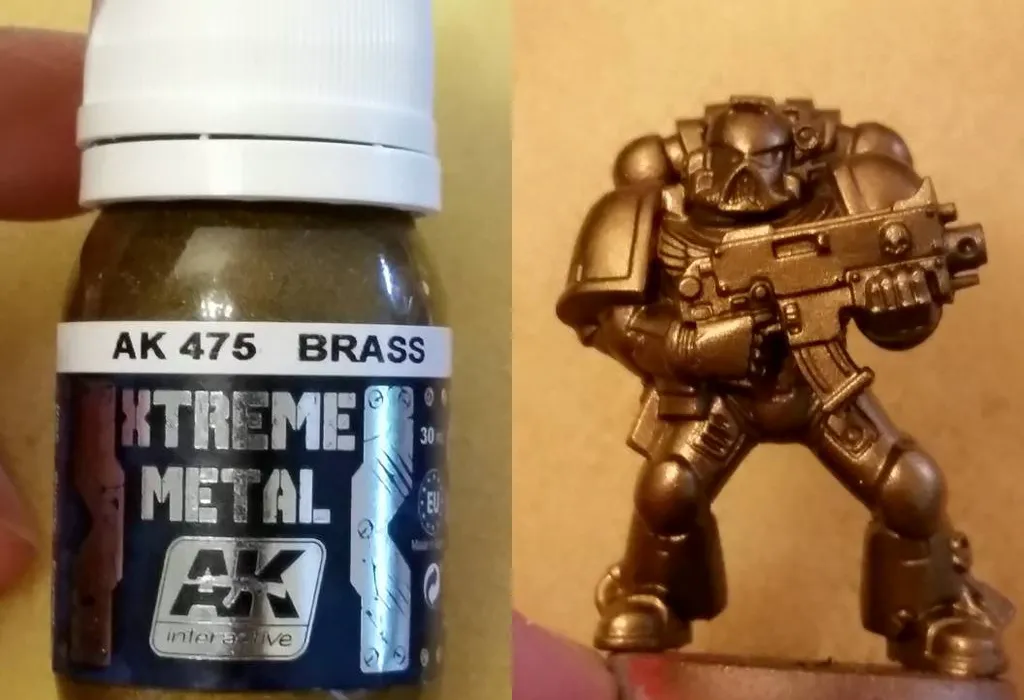
Keeping your airbrush clean is paramount for maintaining its performance and extending its lifespan. The right cleaning supplies will ensure that your airbrush remains in top condition. You’ll need airbrush cleaner, a solvent specifically designed to dissolve and remove the type of paint you are using. For acrylics, use acrylic cleaner or water; for enamels and lacquers, use the appropriate solvent-based cleaner. Cleaning brushes, with various sizes and shapes, are essential for reaching tight spaces within the airbrush. A cleaning station with a container to catch the cleaning fluid is also useful. Additionally, you’ll need cotton swabs and a soft cloth for wiping down the exterior parts. A needle protector can prevent damage to the delicate needle of the airbrush. When cleaning, disassemble the airbrush according to the manufacturer’s instructions. Soak parts in the appropriate cleaner, and use brushes to remove paint residue. Finally, always refer to the manufacturer’s cleaning recommendations for your specific airbrush model. Regular and thorough cleaning prevents paint buildup, clogs, and ensures consistent performance. By investing in the right cleaning supplies and following a proper cleaning routine, you will keep your airbrush in perfect condition.
Step-by-Step Guide to Airbrushing Metal Diecast
Airbrushing metal diecast models involves a series of steps to achieve a professional-looking finish. Start with surface preparation, which includes cleaning the model thoroughly with soap and water to remove any dirt, oil, or grease. Then, lightly sand the surface using fine-grit sandpaper to create a slightly textured surface, which will help the primer adhere better. Next, apply a primer specifically designed for metal diecast, such as a self-etching primer. This provides a base layer for the paint, improves adhesion, and can reveal any imperfections. Allow the primer to dry completely according to the manufacturer’s instructions. After priming, you can apply the base coat of paint. Thin the paint to the correct consistency using the appropriate thinner, and apply thin, even coats, allowing each coat to dry before applying the next. Layering multiple thin coats will produce a smoother finish than applying a single thick coat. For detailing, use masking tape and masking fluid to protect areas where you don’t want the paint to be applied. Once the base coat and any detailing are complete, you can apply a clear coat to protect the paint and add a glossy or matte finish. Finally, let the model cure completely before handling it, ensuring the paint job is fully hardened.
Surface Preparation
Surface preparation is the most critical step in airbrushing metal diecast models, as it directly impacts the adhesion and longevity of the paint finish. Begin by thoroughly cleaning the model to remove any dirt, oil, grease, or release agents. Use warm, soapy water and a soft brush to clean the surface. After cleaning, rinse the model thoroughly with clean water and let it dry completely. Inspect the surface for any imperfections, such as mold lines or flash, and carefully remove these using a hobby knife or sandpaper. Then, lightly sand the surface using fine-grit sandpaper (e.g., 600-grit or higher). Sanding creates a slightly textured surface, which helps the primer and paint adhere better. This step is particularly important on metal diecast models, as the surface is often very smooth. Ensure all sanding dust is removed by cleaning the model again with soap and water or an appropriate degreaser. Surface preparation ensures a smooth, even paint job, and it will ultimately protect the quality of your work. Taking the time to prepare the surface thoroughly will reward you with a professional-looking finish.
Priming the Diecast
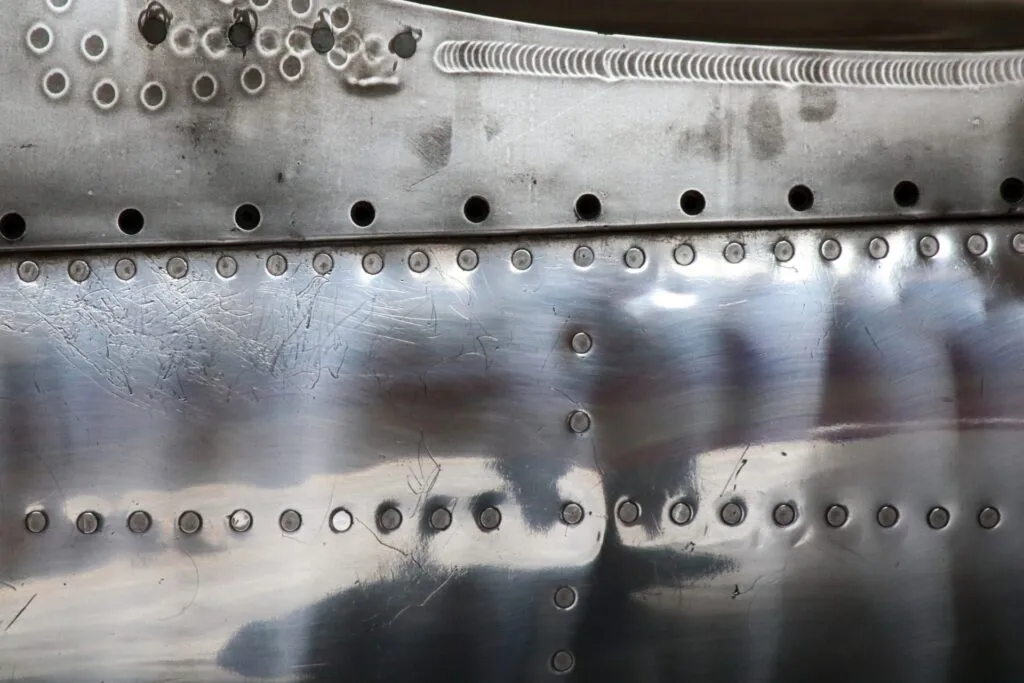
Priming is a vital step in the airbrushing process for metal diecast models, serving as the foundation for your paint job. The primary function of a primer is to provide a surface that the paint can adhere to effectively. It also helps to hide any imperfections in the metal, creates a uniform surface, and improves the durability of the final paint finish. Select a primer specifically designed for metal and, ideally, a self-etching primer, as it chemically bonds to the metal surface, enhancing adhesion. Shake the primer well to ensure it is mixed properly. Apply the primer in thin, even coats, holding the airbrush approximately 6-8 inches from the surface. Avoid applying too much primer at once, as this can lead to runs and drips. Allow each coat to dry completely, following the manufacturer’s instructions. After the primer has dried, inspect the surface for any imperfections or rough spots. If necessary, lightly sand the primed surface with fine-grit sandpaper to smooth out any irregularities. Priming provides the base coat and the surface for paint. The right primer will not only ensure good adhesion but also contribute to the longevity and overall quality of your paint finish. Also, a good primer may show flaws in the metal surface that you can then fix.
Applying the Base Coat
Applying the base coat is a crucial step in airbrushing metal diecast models, dictating the color and overall appearance of your project. Before you start, ensure your primer is fully dry and smooth. Thin your paint to the proper consistency, usually by referring to the manufacturer’s recommendations. Pour the paint into the airbrush’s paint cup, and set the air pressure according to the paint type, generally between 15 and 30 PSI. Start by applying a light mist coat to ensure even coverage and avoid runs. Hold the airbrush at a consistent distance (6-8 inches) from the model, and move it steadily back and forth, overlapping each pass slightly. Apply multiple thin coats, allowing each coat to dry slightly before applying the next. This approach is significantly better than one thick coat, which can lead to unevenness and runs. The goal is to achieve a smooth, even, and consistent color across the entire model. After you’ve applied the base coat, let it dry completely, following the paint’s instructions. Once dry, you can move on to the next stage such as detailing and shading. It is a foundational layer for the remainder of your work.
Layering and Detailing
Layering and detailing are where the true artistry of airbrushing metal diecast models comes to life, adding depth, dimension, and realism to your project. Layering involves applying multiple thin coats of paint to build up color and shading, creating highlights and shadows. This technique allows you to achieve subtle color variations and add depth to the model. Start by selecting lighter or darker shades of your base color and thinning them to the proper consistency. Apply the first layer, focusing on the areas you want to highlight or shade. Allow each layer to dry slightly before applying the next one. Detailing includes adding fine lines, patterns, and other intricate features. Use masking tape or liquid masking fluid to protect areas you don’t want to be painted. A fine-tipped airbrush or needle can be used for precise paint application. Consider techniques like pin-washing to add definition to panel lines and recesses. By applying these methods, you will bring out the intricate features of your model. Patience and practice are key; the goal is to create a visually engaging and realistic finish.
Applying Clear Coats
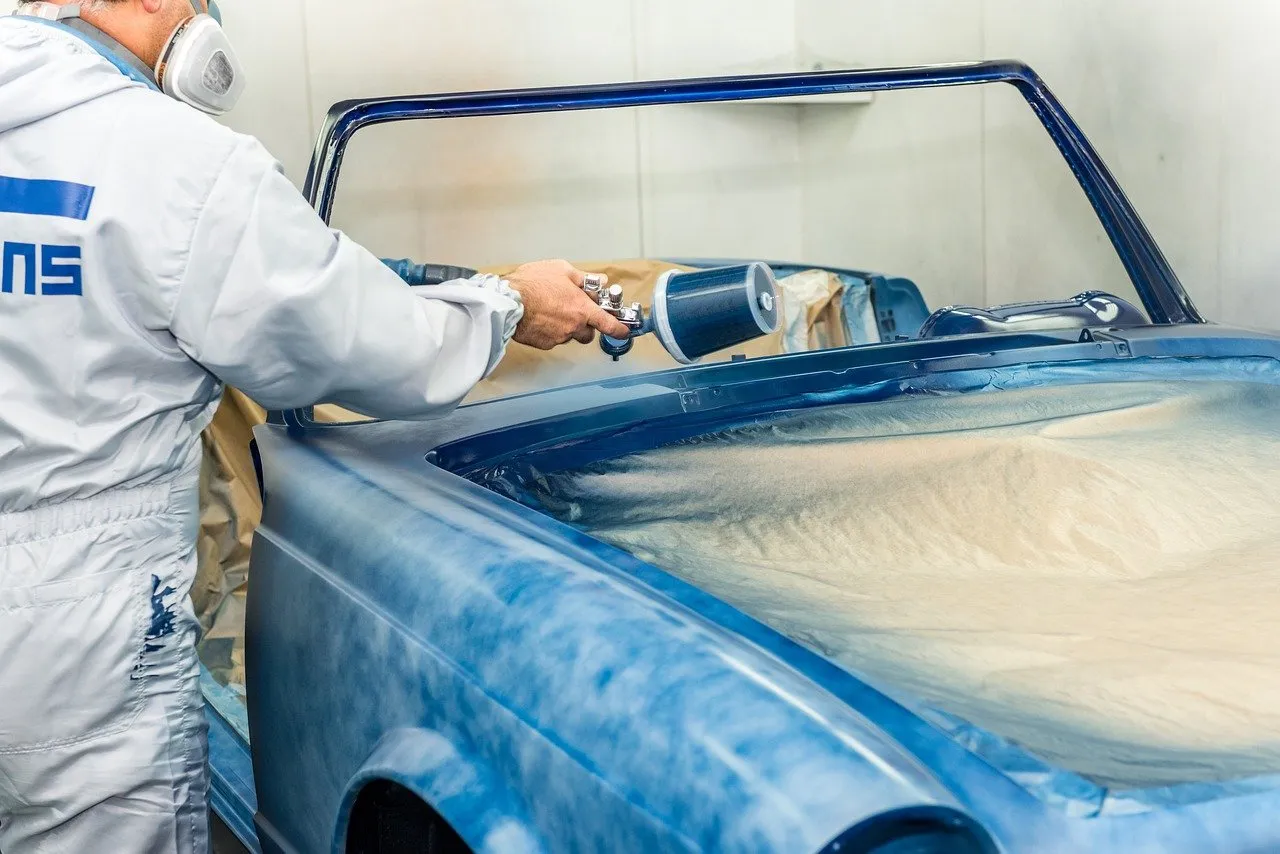
Applying clear coats is the final step in airbrushing metal diecast models, providing protection and enhancing the finish. A clear coat adds a protective layer that shields the paint from scratches, UV damage, and weathering. There are two main types of clear coats: gloss and matte. Gloss clear coats provide a shiny, reflective surface, ideal for replicating the factory finish of many vehicles. Matte clear coats, on the other hand, produce a flat, non-reflective finish, which can be used to create a more realistic appearance or for specific modeling effects. Before applying the clear coat, ensure that the base coat and any detailing work are completely dry. Thin the clear coat according to the manufacturer’s instructions. Apply thin, even coats, using the same technique as with the base coat, and allow each coat to dry before applying the next. Avoid applying heavy coats, which can lead to runs or orange peel. Inspect the model after the clear coat is dry. The clear coat is crucial for making your diecast last and look amazing, protecting your paint from external elements. A well-applied clear coat will not only protect the paint but also significantly improve the overall appearance of your model.
Troubleshooting Common Airbrushing Issues
Airbrushing, while rewarding, can present some common challenges. Several issues can arise during the process, which can be effectively addressed with troubleshooting techniques. Paint clogging is a frequent problem, often caused by improperly thinned paint or paint drying in the airbrush nozzle. To resolve this, disassemble and clean the airbrush thoroughly, paying attention to the nozzle and needle. Ensure you use the right thinner for the paint you are using. Uneven paint application, where the paint appears blotchy or streaky, can result from inconsistent air pressure, incorrect airbrush technique, or contaminated paint. Maintain a consistent distance and angle from the model, and check for any issues with your equipment. Paint runs and drips happen when too much paint is applied at once. To prevent this, apply thin, even coats, allowing each coat to dry before applying the next. Additionally, if your airbrush is sputtering, it can be caused by air leaks, a bent needle, or paint that is too thick. Examine the airbrush components for damage, ensure that the air connections are secure, and thin the paint as necessary. Mastering these troubleshooting techniques will enable you to overcome common airbrushing issues and achieve a high-quality finish on your metal diecast models.
Paint Clogging
Paint clogging is a frequent issue during airbrushing, particularly if the paint is not properly thinned or if there are particles in the paint. This problem can manifest as sputtering, uneven paint flow, or complete blockage of the airbrush. The main causes are paint that is too thick, dried paint inside the airbrush, or debris entering the paint cup. To solve this, always thin your paint to the correct consistency, following the manufacturer’s recommendations. Filter your paint before pouring it into the airbrush, using a fine-mesh strainer. After use, clean your airbrush thoroughly, disassembling it and removing any paint buildup in the nozzle and needle. Be sure to use the appropriate cleaner for the paint type. Regular cleaning with airbrush cleaner and a cleaning brush can help remove dried paint. Using a cleaning station with a catch container will make this cleaning easier. If you experience a clog while airbrushing, immediately stop and clean your airbrush to prevent further issues. Proper maintenance and preparation will help ensure that your airbrush performs smoothly and that you avoid this common problem.
Uneven Paint Application
Uneven paint application is a common issue that can significantly impact the final appearance of your metal diecast model. This issue manifests as blotchy or streaky paint coverage, resulting in an unprofessional look. Several factors contribute to this problem: inconsistent air pressure, improper airbrush technique, and paint that is not thinned correctly. To avoid uneven paint application, maintain a constant air pressure setting, and hold the airbrush at a consistent distance (6-8 inches) from the model. Use a consistent and steady motion, overlapping each pass slightly. Thin the paint properly, making sure the consistency allows smooth flow. Apply multiple thin coats rather than a single thick coat, allowing each coat to dry slightly before the next one. Inspect the painted surface under good lighting to identify any areas with uneven coverage. By addressing these factors, you will improve the consistency and quality of your paint job, and your models will look significantly better. Careful attention to detail and technique will lead to much better results.
Paint Runs and Drips
Paint runs and drips are a frustrating but common problem in airbrushing, arising when too much paint is applied to the surface at once. This typically happens when the paint is applied too thickly or when the airbrush is held too close to the model for too long. To prevent runs and drips, apply the paint in multiple thin, even coats, building up the color gradually. Ensure the paint is thinned to the proper consistency. Hold the airbrush at a consistent distance (6-8 inches) from the surface and move the airbrush steadily, overlapping each pass slightly. Avoid dwelling in one spot for too long, as this will cause the paint to pool. If you do notice a run or drip, allow the paint to dry completely. Once dry, you can carefully sand down the imperfection with fine-grit sandpaper and reapply the paint. If the issue is severe, you might need to remove the paint completely and start over. Preventative measures are key to avoiding runs and drips. By using the correct technique and taking your time, you can avoid this common issue and achieve a smooth, professional finish on your models. Be patient and avoid the temptation to cover the surface quickly.
Maintenance and Cleaning Your Airbrush
Regular maintenance and cleaning are essential to keep your airbrush in optimal condition and ensure its longevity. After each use, disassemble the airbrush according to the manufacturer’s instructions. Clean the paint cup, nozzle, needle, and all other components thoroughly, using the appropriate cleaner for the type of paint you have used. Clean the paint cup after each session to avoid clogs, as well as the nozzle and needle. Use cleaning brushes to remove any paint residue from tight spaces, and utilize cotton swabs and soft cloths to wipe down the exterior parts. Lubricate moving parts, such as the needle and trigger, with a drop of airbrush lubricant to ensure smooth operation. Store your airbrush in a safe, clean place, protected from dust and extreme temperatures. It is useful to have a cleaning station with a container to catch the cleaning fluid. Regular cleaning is crucial for preventing clogs, ensuring a consistent paint flow, and maintaining the accuracy of your airbrush. Take the time to properly clean your airbrush, and it will provide years of reliable service.
Storing Your Airbrush Paint
Proper storage of your airbrush paint is essential for maintaining its quality and extending its shelf life. Always store your airbrush paints in a cool, dry place, away from direct sunlight and extreme temperatures. Heat and sunlight can degrade the pigments, alter the paint’s consistency, and cause it to dry out prematurely. Ensure that all paint bottles are tightly sealed to prevent air exposure, which can lead to the paint thickening or drying. Keep your paint bottles stored upright to minimize the chance of leaks. If you are using solvent-based paints, store them in a well-ventilated area, away from sources of ignition. Regularly check your paints for any signs of spoilage, such as separation, clumping, or changes in color. Dispose of any paint that shows signs of degradation. Consider organizing your paints by type, color, and finish for easy access. Label your paint bottles with the date of purchase and any relevant notes about thinning or mixing. Following these storage guidelines will help you preserve your airbrush paints and ensure they are ready for use whenever you need them. Proper storage will protect your investment.
Final Thoughts on Airbrushing Metal Diecast
Airbrushing metal diecast models is a rewarding hobby that combines artistry with precision. This guide provides a comprehensive overview of the process, from choosing the right paint and equipment to applying techniques and troubleshooting common issues. Achieving a professional-looking finish takes practice, patience, and attention to detail. Always remember to prioritize surface preparation and use the correct painting techniques. Regular maintenance and cleaning of your airbrush are essential to keep your equipment performing at its best. Experiment with different techniques, and don’t be afraid to learn from your mistakes. Embrace the creative possibilities and the joy of transforming metal diecast models into stunning works of art. With dedication and a willingness to learn, anyone can master the art of airbrushing and create beautiful, realistic models that will be admired for years to come. Enjoy the process and have fun!
